Setting up a photography studio at home is a great way to practice, develop your skills, and even start a professional photography business without the high costs of renting a commercial space. A home studio allows for creative control, flexibility, and convenience, making it ideal for portrait sessions, product photography, and creative shoots. Whether working in a small apartment or a spacious home, there are many ways to create a functional and professional-looking studio with the right setup and equipment.
1. Choosing the Right Space for Your Studio
The first step in setting up a home studio is selecting a space that allows for flexibility and proper lighting. A spare room, garage, basement, or even a corner of a larger room can work as long as it provides enough space for the type of photography being done.
Rooms with high ceilings and neutral-colored walls are ideal, as they help with lighting control and reduce unwanted color reflections. Large windows can be beneficial for natural light photography, but it’s important to have curtains or blackout blinds to control lighting when needed.
For small spaces, using foldable or movable furniture allows for quick adjustments and keeps the studio functional for other uses when not shooting.
2. Essential Lighting Equipment
Lighting is one of the most important aspects of a home studio. While natural light can be useful, having reliable artificial lighting provides consistency and control over the final results.
A softbox lighting kit is an affordable and effective way to create soft, even light for portraits and product photography. LED panel lights offer adjustable brightness and color temperature, making them versatile for different setups. A ring light is perfect for beauty and portrait photography, providing a flattering, even glow with minimal shadows.
Strobe lights and flash units are great for freezing motion and creating dramatic lighting effects. Investing in at least two light sources allows for better control of shadows and highlights.
3. Backgrounds and Backdrops
A simple, clean background keeps the focus on the subject and adds a professional touch to images. Seamless paper rolls in colors like white, black, and gray are excellent choices for a variety of looks.
A collapsible backdrop is a space-saving option that provides different colors or textures on each side. Fabric backdrops, such as muslin or canvas, add texture and depth to portraits. For creative backgrounds, using painted walls, wooden panels, or even DIY textured backdrops with fabric or wallpaper can enhance the final image.
A backdrop stand is essential for holding backgrounds securely in place and making setup adjustments easy.
4. Camera and Lens Selection
Choosing the right camera and lens combination depends on the type of photography being done. A full-frame or APS-C DSLR or mirrorless camera provides excellent image quality, manual controls, and compatibility with professional lenses.
For portrait photography, a 50mm or 85mm prime lens offers flattering compression and sharp details. A 24-70mm zoom lens is versatile for various subjects, while a 100mm macro lens is ideal for product photography, allowing close-up shots with fine details.
Using a tripod ensures stability and sharp images, especially when shooting at slower shutter speeds or when setting up self-portraits.
5. Reflectors and Light Modifiers
Reflectors and light modifiers shape and enhance lighting for a more professional look. A 5-in-1 reflector provides different surfaces—white, silver, gold, black, and translucent—each offering unique light effects.
Diffusers soften harsh light, creating a more even exposure. Grid modifiers for softboxes help direct light more precisely, reducing light spill. Barn doors, snoots, and gels allow for creative lighting effects, adding depth and color to images.
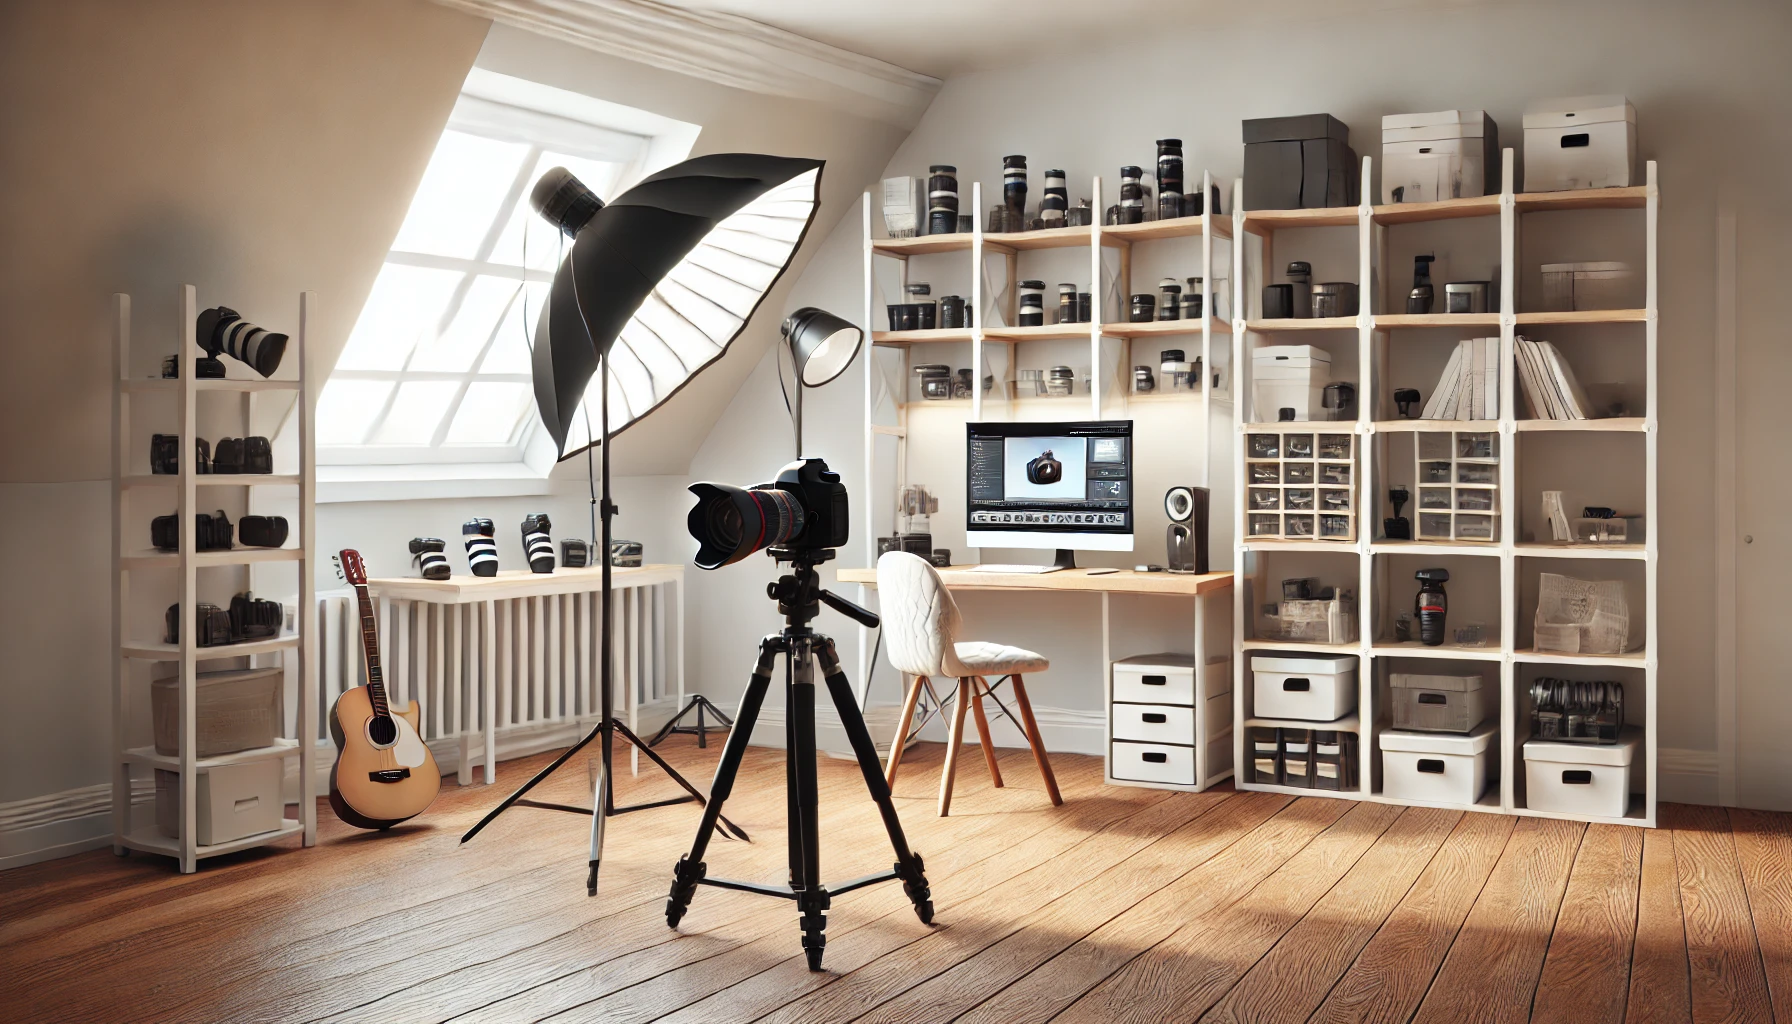
6. Storage and Organization Solutions
Keeping equipment organized ensures a smooth workflow and prevents damage to gear. Storage shelves and cabinets provide space for cameras, lenses, and accessories. Clear storage bins and labeled compartments help keep cables, batteries, and memory cards easy to find.
A pegboard system allows for easy access to frequently used tools, while a rolling cart provides mobility and convenience for changing setups quickly.
7. Soundproofing and Noise Control
If using the studio for video or audio recording, reducing noise and echo improves sound quality. Acoustic foam panels help absorb excess noise and reduce reverberation. Thick curtains and carpets minimize external sounds, making the space quieter and better suited for professional recordings.
White noise machines or soft background music can help mask distracting sounds and create a more comfortable environment for clients.
8. Styling and Props for Creativity
Adding styling elements and props enhances the variety and uniqueness of photoshoots. Chairs, stools, and vintage furniture can be used for portrait posing. Plants, books, and decorative items create a natural and personalized setting.
For product photography, acrylic sheets, textured fabrics, and small display tables provide stylish setups. DIY props, such as colored gels for lighting effects or homemade bokeh filters, add creative touches without extra costs.
9. Editing and Post-Production Setup
A powerful computer with a color-calibrated monitor is essential for professional editing. Adobe Lightroom and Photoshop are industry-standard software for post-processing, offering tools for color correction, retouching, and creative enhancements.
A graphics tablet improves precision in editing, making tasks like skin retouching and object removal easier. Proper desk lighting and an ergonomic chair ensure comfort during long editing sessions.
10. Power Supply and Cable Management
A reliable power setup prevents interruptions during shoots. Using surge protectors and uninterruptible power supplies (UPS) safeguards equipment from power fluctuations.
Cable organizers keep wires tidy, reducing trip hazards and maintaining a clean working environment. Wireless triggers and remote controls minimize cable clutter, making movement easier during shoots.
11. Smart Home Automation for Studio Efficiency
Smart technology enhances workflow efficiency. Voice-activated assistants like Amazon Alexa or Google Home can control lights, music, and reminders hands-free.
Wi-Fi-enabled cameras and tethering software allow for instant previewing of images on a computer or tablet. Smart plugs let photographers turn studio lights on and off remotely, streamlining the process of setting up shots.
12. Client Comfort and Experience
Creating a welcoming environment improves client satisfaction and makes the experience enjoyable. A comfortable seating area with refreshments like water, coffee, or tea helps clients relax before their session.
A mirror and changing area provide convenience for outfit adjustments. A playlist of calming or energetic music sets the mood for the shoot, helping subjects feel more at ease in front of the camera.
For professional branding, having business cards, a portfolio book, or printed samples of previous work allows clients to see the photographer’s style and quality.
Conclusion: Creating a Professional Home Studio
Setting up a home photography studio requires thoughtful planning and strategic investments in equipment and space organization. By focusing on proper lighting, versatile backgrounds, and essential accessories, photographers can achieve professional results without needing a commercial studio. Attention to storage, soundproofing, and smart technology enhances workflow efficiency, while adding styling elements and props allows for creative flexibility. A well-designed home studio provides an ideal space for professional-quality photography, offering convenience, cost savings, and the opportunity to experiment with new techniques.