Long exposure photography is a powerful technique that allows photographers to create stunning visual effects by capturing motion over time. Unlike standard photography, where a fast shutter speed freezes a moment, long exposure uses a slower shutter speed to blur movement while keeping static elements sharp. This technique is widely used for light trails, flowing water, star trails, and creative low-light photography. Mastering long exposure requires an understanding of camera settings, proper equipment, and the right shooting techniques to achieve professional results.
Understanding How Long Exposure Works
Long exposure photography is based on controlling the shutter speed, which determines how long the camera sensor is exposed to light. The longer the exposure, the more motion is captured, creating smooth, flowing effects in moving elements such as water, clouds, and traffic lights.
A typical shutter speed for long exposure ranges from 1 second to several minutes, depending on the subject and lighting conditions. For example:
- 1 to 5 seconds: Light trails in urban photography, gentle water movement.
- 10 to 30 seconds: Smooth waterfalls, ocean waves, and milky clouds.
- Several minutes: Star trails, extreme motion blur, and night sky photography.
A slow shutter speed allows more light to enter, requiring careful adjustments to ISO and aperture to prevent overexposure.
Essential Equipment for Long Exposure Photography
Using the right gear ensures sharp and high-quality long exposure shots. The essential equipment includes:
- Tripod: Prevents camera shake and ensures stability during long exposures. A sturdy tripod is crucial for sharp images.
- Remote Shutter Release: Reduces vibration when pressing the shutter button. Wireless or wired remotes allow for precise control.
- Neutral Density (ND) Filters: Blocks excess light, allowing for longer shutter speeds even in bright conditions. ND filters are essential for daytime long exposure.
- Wide-Angle Lens: Captures more of the scene and provides depth in landscape and cityscape photography.
- Fully Manual Camera: A DSLR or mirrorless camera with manual mode is necessary for adjusting shutter speed, aperture, and ISO.
Camera Settings for Long Exposure Photography
Adjusting the right settings ensures properly exposed long exposure shots. The key settings include:
- Shutter Speed: Set between 1 second and several minutes, depending on the effect desired.
- Aperture (f/stop): A narrow aperture (f/8 to f/16) maintains sharpness and prevents overexposure.
- ISO: Keep ISO low (100 or 200) to minimize noise and preserve image quality.
- Focus Mode: Use manual focus, as autofocus struggles in low-light conditions. Pre-focus before starting the exposure.
- White Balance: Adjust based on the light source or set to auto for natural color tones.
Using Bulb Mode allows for exposures longer than 30 seconds, which is useful for astrophotography and extreme long exposures.
Best Long Exposure Photography Techniques
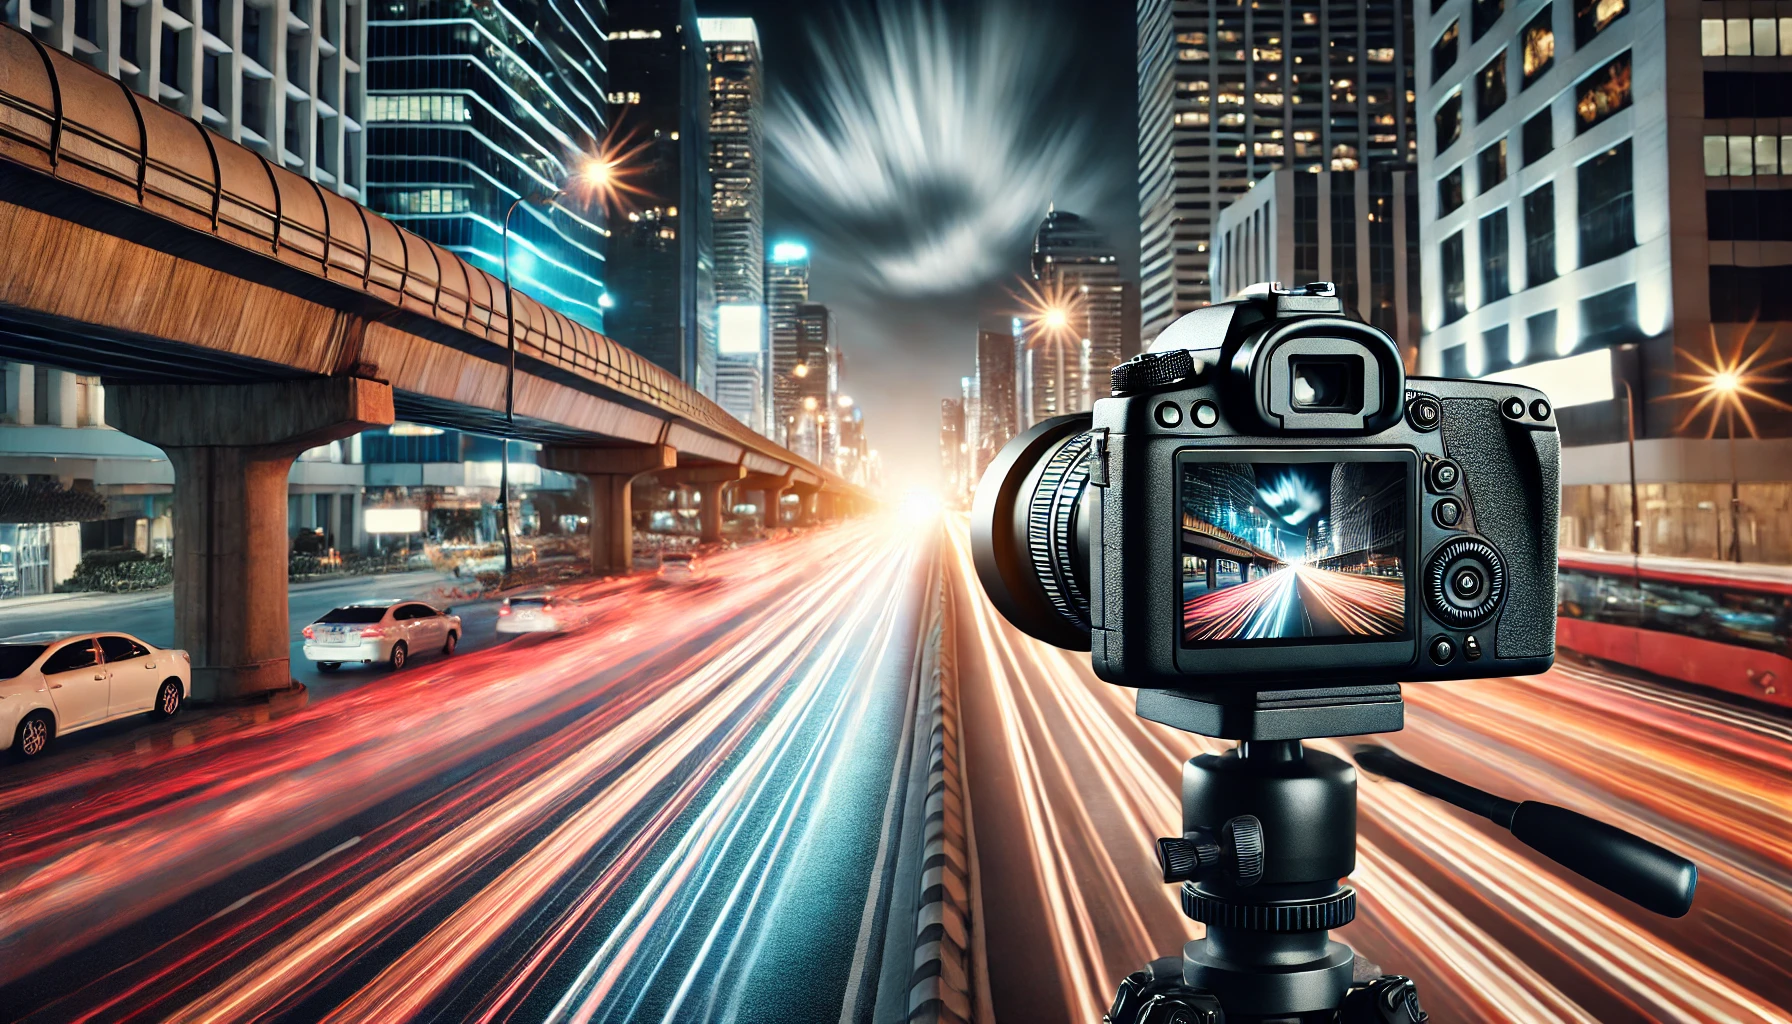
Capturing Light Trails
Light trails occur when moving light sources, such as car headlights or streetlights, are captured over time. This technique is popular in urban photography, creating dynamic and futuristic effects.
- Choose a busy road or highway with continuous traffic.
- Set the camera on a tripod and use a shutter speed of 5 to 30 seconds.
- Use a low ISO and a small aperture to prevent overexposure.
- Frame the shot to include interesting city elements like buildings or bridges.
Experimenting with different shutter speeds alters the intensity and length of the light trails.
Smoothing Water in Seascapes and Waterfalls
Using long exposure in water photography creates a soft, misty effect that enhances the beauty of waterfalls, rivers, and ocean waves.
- Use a shutter speed of 10 to 30 seconds for smooth water effects.
- ND filters help achieve longer exposures in daylight without overexposure.
- Adjust composition to include rocks or stationary objects for contrast.
- Avoid windy conditions, as moving vegetation can blur unintentionally.
Shooting in the early morning or late afternoon enhances colors and reduces harsh shadows.
Creating Motion Blur in Clouds
Cloud movement in long exposure adds drama to landscapes and cityscapes, giving the sky a surreal, painted effect.
- Use a wide-angle lens to capture more of the sky.
- Set a shutter speed of 1 to 5 minutes for significant cloud motion.
- ND filters help extend exposure time in bright conditions.
- Use leading lines in composition to enhance the visual flow of moving clouds.
This technique works well during sunset or sunrise when the sky has dynamic colors.
Shooting Star Trails in Astrophotography
Star trails occur when capturing the movement of stars due to the Earth’s rotation. This effect requires extremely long exposure times and a dark, clear sky.
- Use a tripod and a wide-angle lens for maximum sky coverage.
- Set the camera to Bulb Mode and expose for 15 minutes or longer.
- Use a remote shutter release to avoid vibrations.
- Find a location away from city lights to reduce light pollution.
Stacking multiple shorter exposures in post-processing enhances star trails while reducing noise.
Ghosting Effects and Creative Motion Blur
Long exposure can create ghost-like figures by capturing partial movement of people in the frame. This effect is commonly used in conceptual photography and urban storytelling.
- Use a shutter speed of 5 to 10 seconds.
- Have subjects move partially in the frame to create semi-transparent effects.
- Experiment with city scenes to blend stationary and moving elements.
This technique adds mystery and surrealism to images.
Common Mistakes in Long Exposure Photography and How to Avoid Them
Even with proper planning, long exposure photography can present challenges. Avoiding common mistakes helps improve results.
- Overexposure in Bright Conditions: Use ND filters or shoot during golden hour for better exposure control.
- Camera Shake: Always use a sturdy tripod and remote shutter release to prevent blurriness.
- Unwanted Light Trails: If moving objects create unwanted streaks, adjust shutter speed or change angles.
- High Noise in Dark Areas: Keeping ISO low and using long exposure noise reduction in post-processing reduces noise.
- Focus Issues in Low Light: Use manual focus and pre-focus before taking long exposure shots.
Post-Processing Long Exposure Photos for a Polished Look
Editing enhances the final result of long exposure images. Using Adobe Lightroom and Photoshop, the following adjustments improve images:
- Exposure and Contrast: Fine-tune brightness and enhance shadow details.
- Color Grading: Adjust white balance for correct color tones, especially in night photography.
- Noise Reduction: Reduce grain in darker areas to improve clarity.
- Sharpening: Enhance details in static elements for a crisp final image.
- Stacking and Blending: Combine multiple exposures for enhanced light trails or star trails.
A balanced editing approach maintains the natural beauty of long exposure images without excessive processing.
Conclusion: Mastering Long Exposure for Stunning Effects
Long exposure photography opens up creative possibilities, from capturing dreamy water effects to dynamic light trails and mesmerizing star trails. Mastering camera settings, using the right equipment, and experimenting with different shutter speeds ensures high-quality images. Avoiding common mistakes and refining shots through post-processing further enhances results. With patience, practice, and attention to composition, long exposure photography becomes a powerful tool for creating breathtaking and unique images.