Capturing breathtaking moments during your trips is only part of the creative process. The real transformation often happens in post-processing. Knowing how to edit travel photos like a professional can elevate your work, enhance storytelling, and help your images stand out in an oversaturated digital world. Whether you’re using a DSLR, mirrorless camera, or a smartphone, mastering editing techniques is essential for building a cohesive portfolio, growing your online presence, and even monetizing your visual content.
In this guide, we’ll break down step-by-step strategies to professionally edit travel photos, using insights based on Google’s salience score and natural language processing principles. We’ll integrate LSI keywords like photo retouching for travel photography, Lightroom editing tips, color grading travel photos, and photo workflow for travelers to ensure maximum semantic relevance and discoverability.
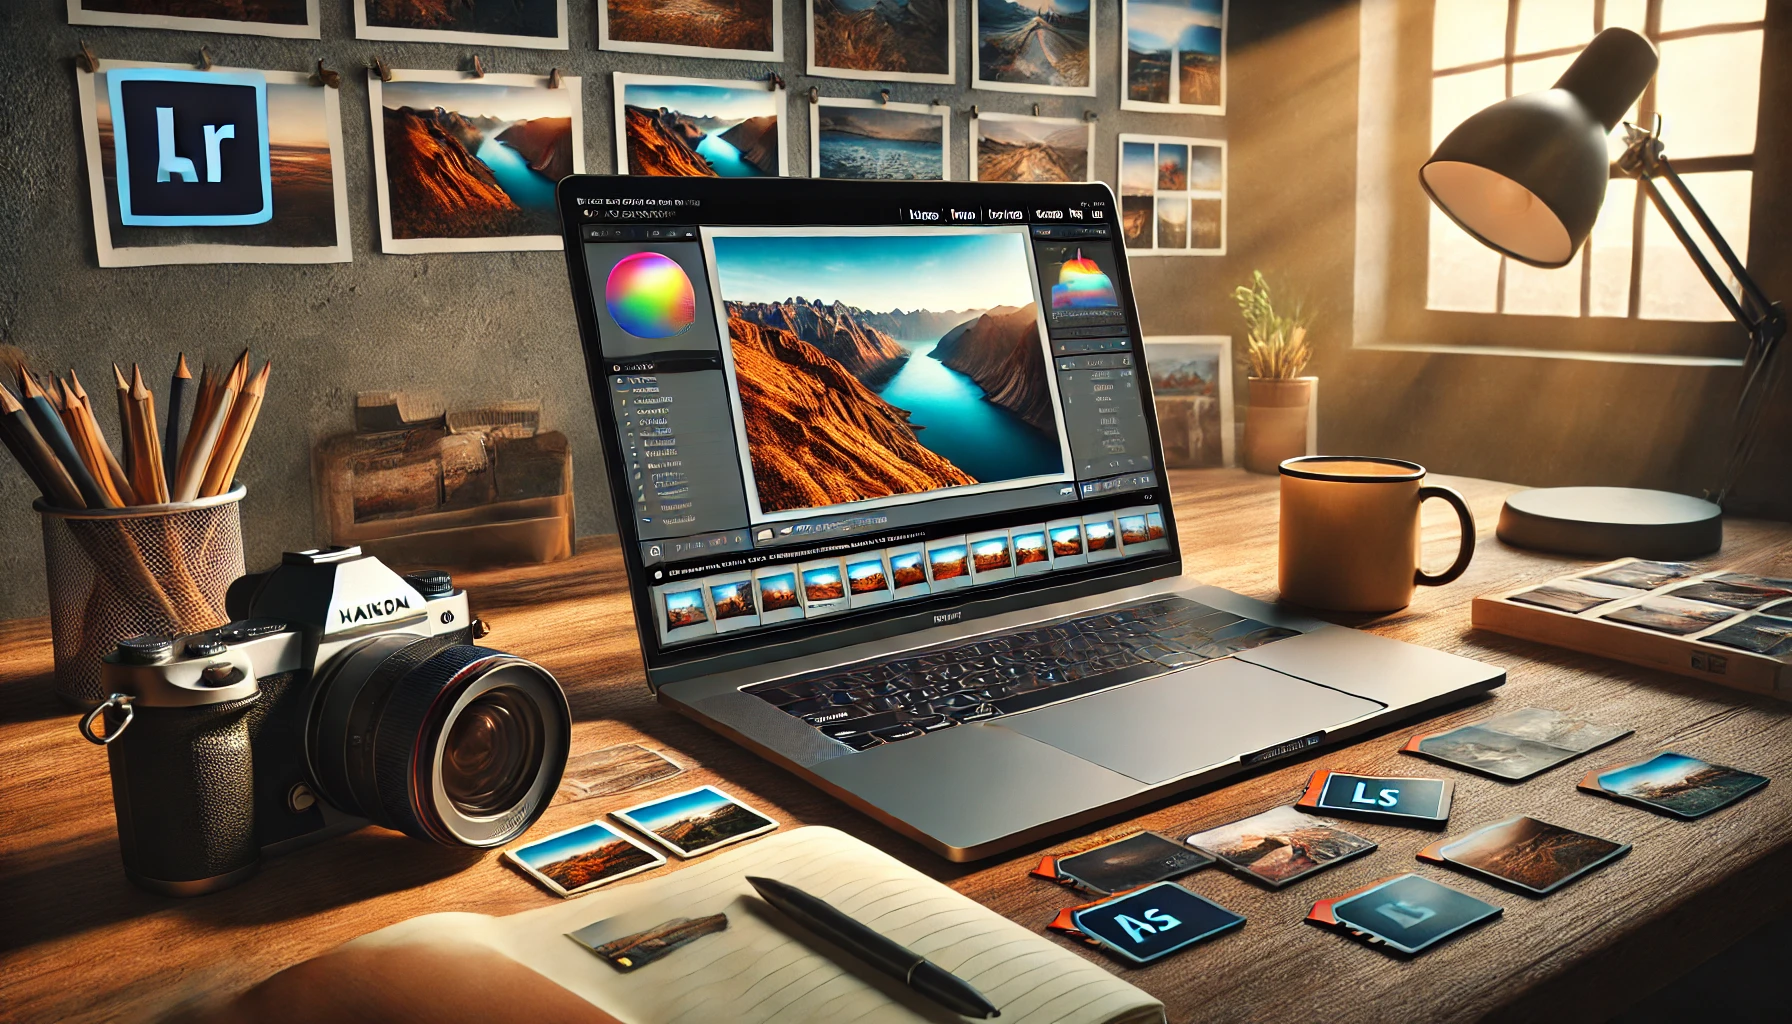
Start With a Consistent Workflow
Creating professional results starts with having a solid and repeatable editing workflow. This helps maintain consistency in your photos, speeds up your process, and makes your editing style recognizable.
Basic travel photo editing workflow:
- Import and organize files
- Select (cull) your best images
- Apply basic adjustments
- Fine-tune color and lighting
- Apply creative effects (if desired)
- Export for specific platforms or print
- Backup and archive your work
Consistency is one of the key elements that separates amateurs from professionals. Having a system allows you to focus more on creativity and less on decision fatigue.
Choose the Right Editing Software
The tools you use impact both the quality and efficiency of your edits. Choose software that aligns with your goals and offers room to grow.
Recommended photo editing tools:
| Software | Best For |
|---|---|
| Adobe Lightroom | Full control + non-destructive editing |
| Photoshop | Advanced retouching and composites |
| Capture One | Color grading and tethered shooting |
| Snapseed (Mobile) | Quick edits on the go |
| VSCO / Lightroom Mobile | Mobile consistency & presets |
Tip: Use RAW files whenever possible to retain maximum detail and editing flexibility.
Start With Global Adjustments
Global adjustments affect the entire image. They form the foundation of your edit and help restore the visual balance captured in the moment.
Key global adjustments:
- Exposure: Adjust overall brightness to fix under/overexposed images
- Contrast: Add depth and separate tones
- Highlights & Shadows: Recover lost detail in bright or dark areas
- Whites & Blacks: Define tonal range and set image anchors
- Clarity & Texture: Enhance midtones and surface detail
- Dehaze: Great for misty landscapes and distant views
Start subtle. Less is often more when it comes to global edits — especially for travel photography where the goal is authenticity.
Fine-Tune Color for Mood and Impact
Color evokes emotion and sets the tone of your image. With the right adjustments, you can make your viewer feel the atmosphere of the location.
Tools for color editing:
- White Balance: Correct color temperature and tint
- Vibrance: Boost muted colors without oversaturating skin tones
- Saturation: Adjust the intensity of all colors
- HSL Panel (Hue, Saturation, Luminance): Target and control individual color ranges
- Split Toning / Color Grading: Add color to highlights and shadows for cinematic looks
Examples of color mood and destination pairings:
| Destination Type | Recommended Color Style |
|---|---|
| Tropical Beaches | Warm tones, enhanced blues and greens |
| Urban Street Scenes | Desaturated, cool or high contrast |
| Mountain Landscapes | Neutral tones with clarity and haze control |
| Markets and Street Life | Vivid colors, high saturation |
| Desert and Dunes | Earth tones, soft highlights |
Color is your emotional language. Use it to tell the story your camera can’t.
Use Local Adjustments for Precision
Local adjustments allow you to make changes to specific areas of your image. These precise tools help guide the viewer’s eye and enhance focal points.
Local tools to master:
- Adjustment Brush: Apply changes to detailed areas like faces or skies
- Graduated Filter: Perfect for landscapes and enhancing skies
- Radial Filter: Add subtle light or focus to a subject
- Spot Healing Tool: Remove dust spots or small distractions
- Masking AI (Lightroom/Photoshop): Select subject, background, or sky automatically
Think like a painter: build your image layer by layer, light by light.
Crop and Straighten for Better Composition
Composition isn’t finished when you take the photo — cropping is a powerful post-processing tool. A professional edit often includes adjusting framing to improve balance, symmetry, or storytelling.
Crop like a pro:
- Use the Rule of Thirds Grid to reposition subjects
- Align horizons using the straighten tool
- Crop out distracting elements near edges
- Maintain natural aspect ratios for print or web (3:2, 4:5, 16:9)
Never underestimate the power of a good crop — it can change the entire feel of an image.
Sharpen Without Overdoing It
Sharpening helps emphasize detail but must be applied carefully to avoid creating artifacts or noise.
Smart sharpening workflow:
- Use Detail panel in Lightroom or Unsharp Mask in Photoshop
- Zoom in to 100% to inspect results
- Avoid sharpening sky, skin, or smooth areas
- Use masking to target specific zones
If your sharpening is visible, it’s probably too much.
Remove Distractions and Clean Up
Professional editing often involves subtle retouching to clean up distractions, fix flaws, or remove unwanted objects.
Retouching tips:
- Use Spot Removal for blemishes, dust, or trash
- Clone Stamp for repetitive patterns (e.g., bricks, textures)
- Remove elements that draw the eye away from your subject
- Be ethical with what you choose to remove — avoid altering reality too much in documentary-style travel images
The goal isn’t perfection — it’s clarity. Let the subject shine.
Apply Presets Carefully
Presets are helpful for saving time and maintaining consistency, but they should be starting points, not one-click solutions.
Best practices for presets:
- Use your own or purchase from photographers with similar styles
- Always adjust exposure, white balance, and contrast afterward
- Avoid presets that create harsh vignettes or unnatural skin tones
- Create custom variations for different lighting conditions
A good preset complements the photo — it doesn’t overpower it.
Export for Different Platforms
How you export your photos affects how they look when published or printed. Different platforms require different sizes, compressions, and file types.
Recommended export settings:
| Use Case | Settings |
|---|---|
| Instagram Feed | 1080px long edge, JPEG, sRGB, 80-100% quality |
| Website or Blog | 1500–2000px, JPEG, sRGB, 70–85% quality |
| 300 DPI, TIFF or high-quality JPEG | |
| Stock Photography | Highest resolution, embedded metadata |
Always rename your exported files with descriptive, keyword-rich titles to help with SEO and file management.
Use Metadata and Keywords for Better Organization and SEO
Adding metadata doesn’t just help you stay organized — it also improves the searchability and salience of your photos online.
Metadata elements to include:
- Title: Short and descriptive (e.g., “Sunrise Over Bagan Temples”)
- Caption: Who, what, where — plus storytelling context
- Alt text: Useful for web accessibility and image SEO
- Keywords: Use terms related to location, mood, and subject (e.g., travel, sunrise, Myanmar, temples, golden hour, adventure)
Metadata speaks to search engines. The more context you provide, the better your images can perform online.
Backup and Archive Professionally
After editing, always back up your work to protect it long-term and maintain a reliable archive.
Backup strategy:
- Store in at least two physical locations (external drives)
- Use a cloud service like Backblaze, Dropbox, or Google One
- Create folders by year, trip, or project
- Keep originals, edits, and exports clearly labeled
Your edits are part of your legacy — treat them with care.
Final Thoughts: Editing Is the Heart of Your Creative Voice
Knowing how to edit travel photos like a professional gives you complete control over how your images are experienced by others. It’s your chance to bring clarity to your vision, mood to your landscapes, and soul to your storytelling.
With practice and intentionality, editing becomes less about fixing flaws and more about expressing emotion, enhancing narrative, and building visual identity.
So go beyond the snapshot. Dive into the detail. Craft your colors, mold your light, and let your edits carry your viewer into the very heart of your journey — frame by frame.
Frequently Asked Questions (FAQ)
1. What’s the best software for editing travel photos professionally?
The most widely used software by professionals is Adobe Lightroom, thanks to its powerful editing tools and non-destructive workflow. For advanced retouching and composites, Adobe Photoshop is ideal. If you prefer alternatives, Capture One, Luminar, and Lightroom Mobile are also great options.
2. Do I need to shoot in RAW to get professional editing results?
Yes — shooting in RAW gives you much more flexibility in post-processing. It retains all the data from your camera’s sensor, allowing you to recover highlights, adjust white balance, and fine-tune exposure without degrading image quality.
3. How can I keep my editing style consistent across different trips and lighting conditions?
Create a set of custom presets based on your editing preferences. Stick to a consistent approach to color grading, contrast, and light balance. Organizing your images into series or themes also helps create a cohesive visual identity.
4. How do I avoid over-editing my travel photos?
- Zoom out frequently while editing
- Compare your final image to the original
- Avoid maxing out clarity, dehaze, or saturation sliders
- Keep skin tones and skies natural
Subtle edits often make a bigger impact than extreme ones.
5. What’s the difference between global and local adjustments?
- Global adjustments affect the entire image (e.g., exposure, contrast)
- Local adjustments target specific areas (e.g., brightening a face or darkening a sky)
Using both allows for precise control and balanced results.
6. How can I make my travel photos look more cinematic?
Use color grading tools like split toning, add subtle vignettes, and apply warm or cool tones to highlights and shadows. Soft contrast and carefully adjusted hues can give your images a film-like feel. Consider using aspect ratios like 16:9 for dramatic compositions.
7. How do I export images for social media without losing quality?
- Resize to 1080px (Instagram) or 2048px (Facebook/blogs) on the long edge
- Export in JPEG, sRGB, with 80–100% quality
- Avoid resaving JPEGs multiple times
- Use tools like Squoosh or TinyJPG to compress without visible loss