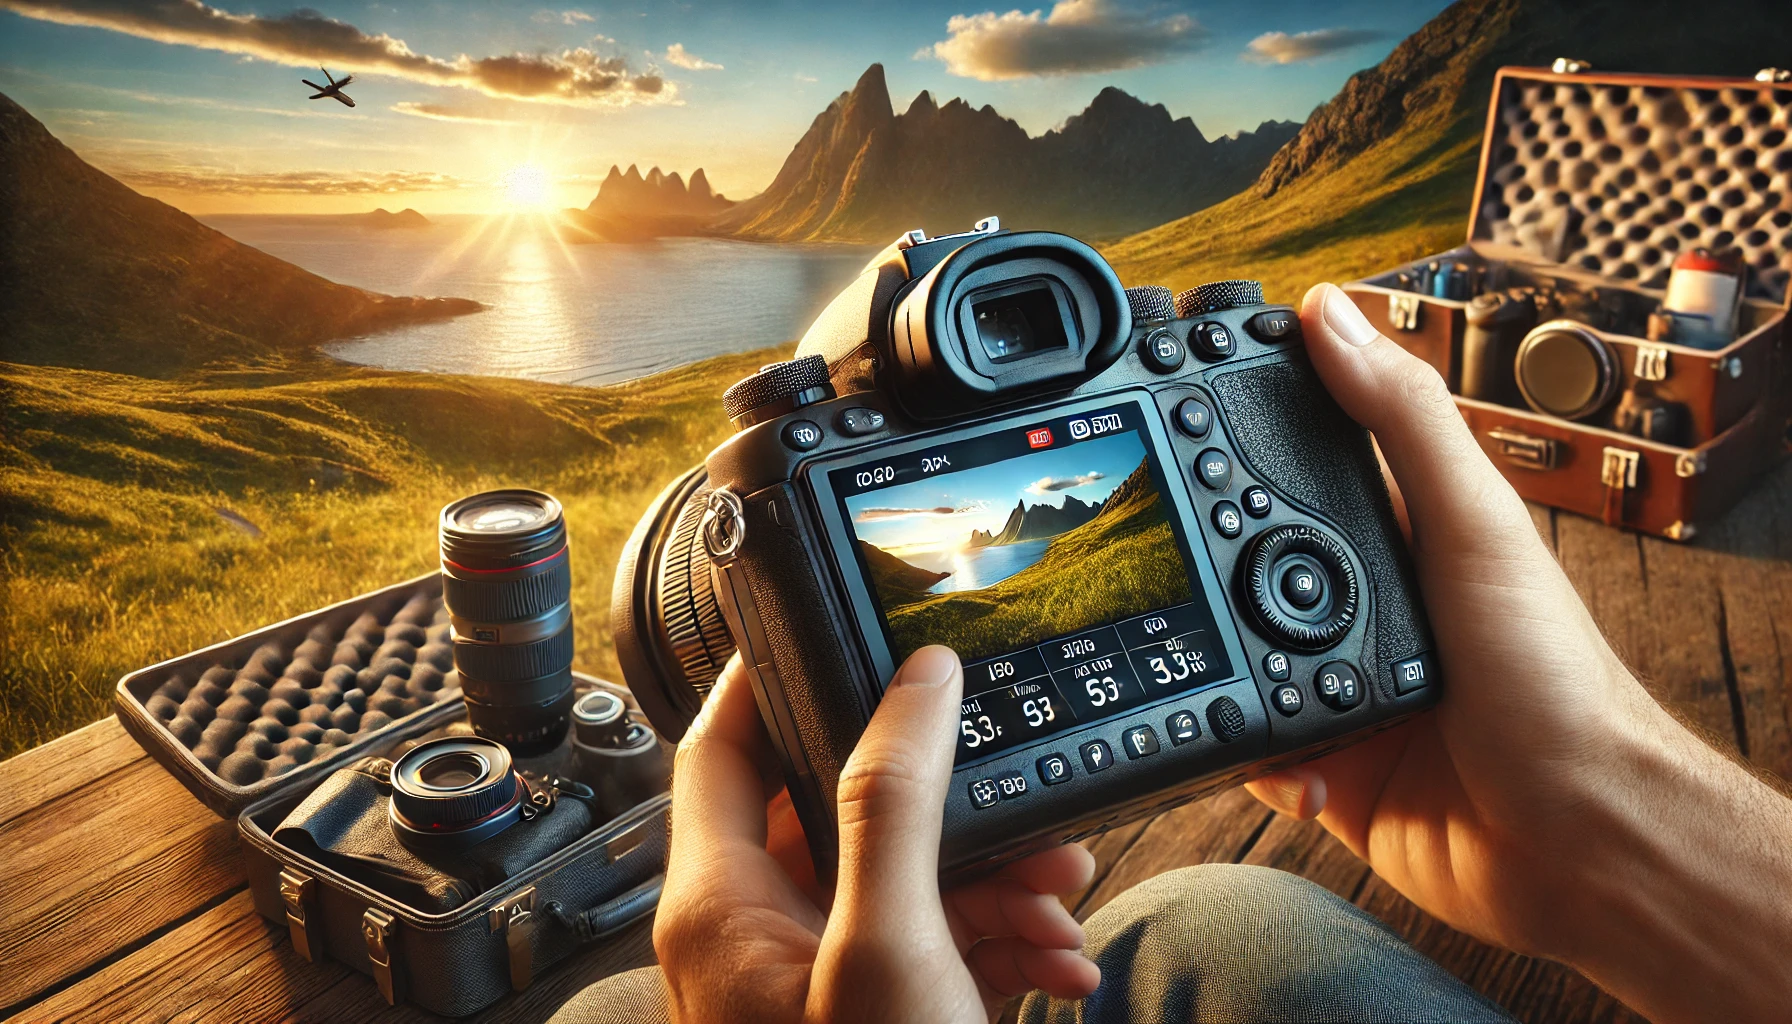
Understanding the best camera settings for travel photography is essential if you want to consistently produce high-quality images that capture the mood, light, and character of your journey. Whether you’re shooting ancient cities, vibrant street scenes, or dramatic landscapes, knowing how to control your camera settings puts the creative power in your hands — instead of relying on automatic modes or guesswork.
In this detailed guide, we’ll explore the ideal camera settings for various travel scenarios using key concepts related to Google’s salience score, natural language processing, and LSI (latent semantic indexing). The focus keyword is carefully integrated with related terms like manual camera settings, ISO for travel photography, shutter speed tips, aperture for landscapes, and exposure settings for travelers — all while keeping the content natural and useful for photographers of all levels.
Understand the Exposure Triangle
Before diving into specific settings, you need to understand the exposure triangle, which consists of:
- Aperture (f-stop)
- Shutter speed
- ISO
These three elements work together to control the light entering your camera and affect depth of field, motion blur, and image quality.
Quick Reference Table:
| Setting | What It Controls | Best Use in Travel Photography |
|---|---|---|
| Aperture | Depth of field (background blur) | f/2.8 for portraits, f/8–f/11 for landscapes |
| Shutter Speed | Motion blur or freeze | 1/500+ for action, slower for long exposure |
| ISO | Sensor sensitivity to light | Keep low (100–400) for best quality in daylight |
Mastering this triangle is fundamental for shooting in manual mode or aperture priority, which gives you far greater creative control than full auto.
Use Aperture Priority for Versatility
For most travel situations, Aperture Priority mode (A or Av) offers a great balance between control and convenience. It allows you to set the aperture, while the camera adjusts shutter speed automatically.
Ideal scenarios for Aperture Priority:
- Street photography: Use f/4–f/5.6 to get both subject and background in acceptable focus
- Landscape photography: Use f/8–f/11 for maximum sharpness across the frame
- Food or detail shots: Use f/2.8–f/4 for shallow depth of field and subject separation
Use this mode to adapt quickly to changing conditions, especially when moving through cities, markets, or remote areas.
Know When to Switch to Manual Mode
There are times when Manual mode (M) is the best option — especially in challenging lighting or when you’re using a tripod.
When to use Manual mode:
- Night photography: Star trails, city lights, or long exposures
- Sunsets and sunrises: Controlling exposure for sky and foreground
- Indoor settings: Low-light temples, churches, or markets
- Timelapse or light painting: Full control over every parameter
Manual mode ensures consistent exposure across shots and prevents unexpected camera behavior in complex lighting.
Choose the Right ISO Setting for Each Situation
ISO directly impacts image brightness and noise levels. In ideal conditions, use the lowest ISO possible to maintain image quality.
ISO guidelines for travel photography:
- Daylight: ISO 100–200
- Shade or cloudy days: ISO 400–800
- Night scenes: ISO 1600–3200 (or higher with full-frame sensors)
- Indoor low light: ISO 800–1600, use stabilization if available
Always balance ISO with shutter speed and aperture. High ISO is useful, but comes with the cost of increased grain/noise.
Shutter Speed: Capture Motion With Intention
Shutter speed controls how movement is rendered in your photos. In travel photography, you’ll often face subjects in motion — people walking, cars passing, waterfalls flowing.
Suggested shutter speeds:
- Freezing motion: 1/500 to 1/2000 for action and street moments
- Panning or motion blur: 1/30 to 1/60 to create movement trails
- Long exposure: 1/2 to 30 seconds for rivers, night skies, or empty cityscapes
Use a tripod and remote shutter or timer when using slower speeds to prevent camera shake.
Adjust White Balance to Match the Environment
White balance ensures your colors look natural and true to the light conditions. Auto White Balance (AWB) is good, but custom white balance settings can enhance your visual storytelling.
White Balance presets to consider:
- Daylight: For sunny conditions
- Cloudy: Warms up cool tones on overcast days
- Shade: Adds warmth to shadowy areas
- Tungsten: Neutralizes yellow/orange indoor lighting
- Custom (Kelvin): Manually set color temperature for creative control
Slight warm or cool tones can dramatically change the mood of a travel image — especially during golden hour or blue hour.
Use Auto Focus Modes Wisely
Accurate focus is critical. Understanding autofocus modes helps you respond quickly to different subjects and shooting styles.
Recommended autofocus modes:
- AF-S (Single Shot AF): Best for still subjects (e.g., architecture, posed portraits)
- AF-C (Continuous AF): Ideal for moving subjects (e.g., markets, kids playing, wildlife)
- Face/Eye Detection: Perfect for portraits and human-centered scenes
- Manual focus: Use for tripod shots or low-light scenes requiring precision
Pro tip: Always focus on the subject’s eyes when shooting portraits — it’s the most emotionally engaging point.
Shoot in RAW Format for Maximum Flexibility
RAW files retain much more information than JPEGs, allowing you to fix mistakes and creatively enhance your photos in post-production.
Benefits of shooting in RAW:
- Recover highlights and shadows more easily
- Adjust white balance non-destructively
- Fine-tune exposure and color without degrading quality
- Better suited for professional editing in Lightroom, Capture One, or Photoshop
If you plan to edit your images or print them, RAW is essential.
Use the Histogram and Exposure Meter
Visual feedback tools on your camera help avoid underexposed or overexposed images — especially in tricky lighting.
How to use:
- Histogram: A graph showing brightness distribution. Aim for a balanced curve without clipping at the extremes.
- Exposure meter: Shows whether your exposure is above or below optimal. Adjust shutter, ISO, or aperture to correct.
Don’t rely only on your LCD screen — use histogram data to expose accurately.
Use Metering Modes for Better Exposure
Metering determines how your camera reads light. Choosing the right metering mode is key to accurate exposure.
Common metering modes:
- Matrix/Evaluative: Best for general scenes — camera averages light across the frame
- Center-weighted: Good for portraits or subjects in the center
- Spot metering: Ideal for backlit or high-contrast situations, focuses on a small area of the frame
Each situation requires a thoughtful approach — don’t let the camera always decide for you.
Travel Photography Settings Cheat Sheet
Here’s a quick reference to help you adapt fast during your trip:
| Scene Type | Aperture | Shutter Speed | ISO | Notes |
|---|---|---|---|---|
| Street scenes | f/4–f/5.6 | 1/250–1/500 | 200–400 | Use AF-C mode, shoot in bursts |
| Landscapes | f/8–f/11 | 1/100+ (tripod if slower) | 100 | Use polarizing filter for sky and water |
| Low light indoors | f/2.8–f/4 | 1/60+ (or slower w/ tripod) | 800–1600 | Stabilization or tripod helps |
| Night scenes | f/2.8–f/8 | 1–30 seconds | 1600–3200 | Manual focus, shoot in RAW |
| Portraits (daylight) | f/2.8–f/4 | 1/250 | 100–200 | Focus on the eyes, use soft backgrounds |
| Sunrise/Sunset | f/8–f/11 | 1/60–1/250 | 100–400 | Bracket exposures or use graduated filters |
These are starting points. Adapt based on light, location, and artistic intent.
Final Thoughts: Mastering Settings Is Key to Creative Freedom
Learning the best camera settings for travel photography isn’t just about technical skill — it’s about creative control. When you know how to manipulate aperture, shutter speed, ISO, focus modes, and white balance, you gain the ability to express your unique vision in every environment.
Great travel images don’t happen by accident. They come from being prepared, understanding your tools, and responding skillfully to the light and scene before you. With practice and intentional use of these settings, you’ll capture photos that are not only beautiful — but meaningful, memorable, and truly yours.
So next time you pack your camera, don’t just hope for good photos. Set yourself up for them — one thoughtful setting at a time.
Frequently Asked Questions (FAQ)
1. What is the best shooting mode for travel photography — manual or automatic?
Aperture Priority (A/Av) is often the best balance between control and speed for travel. It allows you to control depth of field while the camera adjusts shutter speed. Use Manual Mode when lighting is tricky or when full control is needed, especially in low light or night scenes.
2. What ISO should I use when traveling?
- Bright daylight: ISO 100–200
- Cloudy or shade: ISO 400–800
- Indoor or night: ISO 800–3200 (or higher with noise reduction)
Always try to use the lowest ISO possible for cleaner images.
3. How do I avoid blurry travel photos?
Use a fast enough shutter speed (1/250 or faster for handheld shots), activate image stabilization, and use a tripod in low-light conditions. Also, focus carefully and avoid over-relying on digital zoom or cropping later.
4. Should I always shoot in RAW while traveling?
Yes, if your goal is high-quality, editable images. RAW files retain more detail and allow better post-processing. If storage is limited, shoot RAW + JPEG to have editable files and quick-share versions.
5. What aperture is best for landscapes vs. portraits?
- Landscapes: f/8 to f/11 for sharpness throughout the image
- Portraits: f/2.8 to f/4 for shallow depth of field and blurred backgrounds
Adjust based on how much of the scene you want in focus.
6. How can I quickly adapt settings while on the move?
Use custom shooting modes (C1, C2) on your camera to save your preferred settings. Set one for street photography and one for landscapes, for example. It saves time and ensures you’re always ready.
7. Is it okay to use Auto ISO while traveling?
Yes, Auto ISO can be very helpful, especially in changing light. Set a maximum ISO limit (e.g., 1600) and a minimum shutter speed to avoid motion blur. This way, the camera adapts while still protecting image quality.