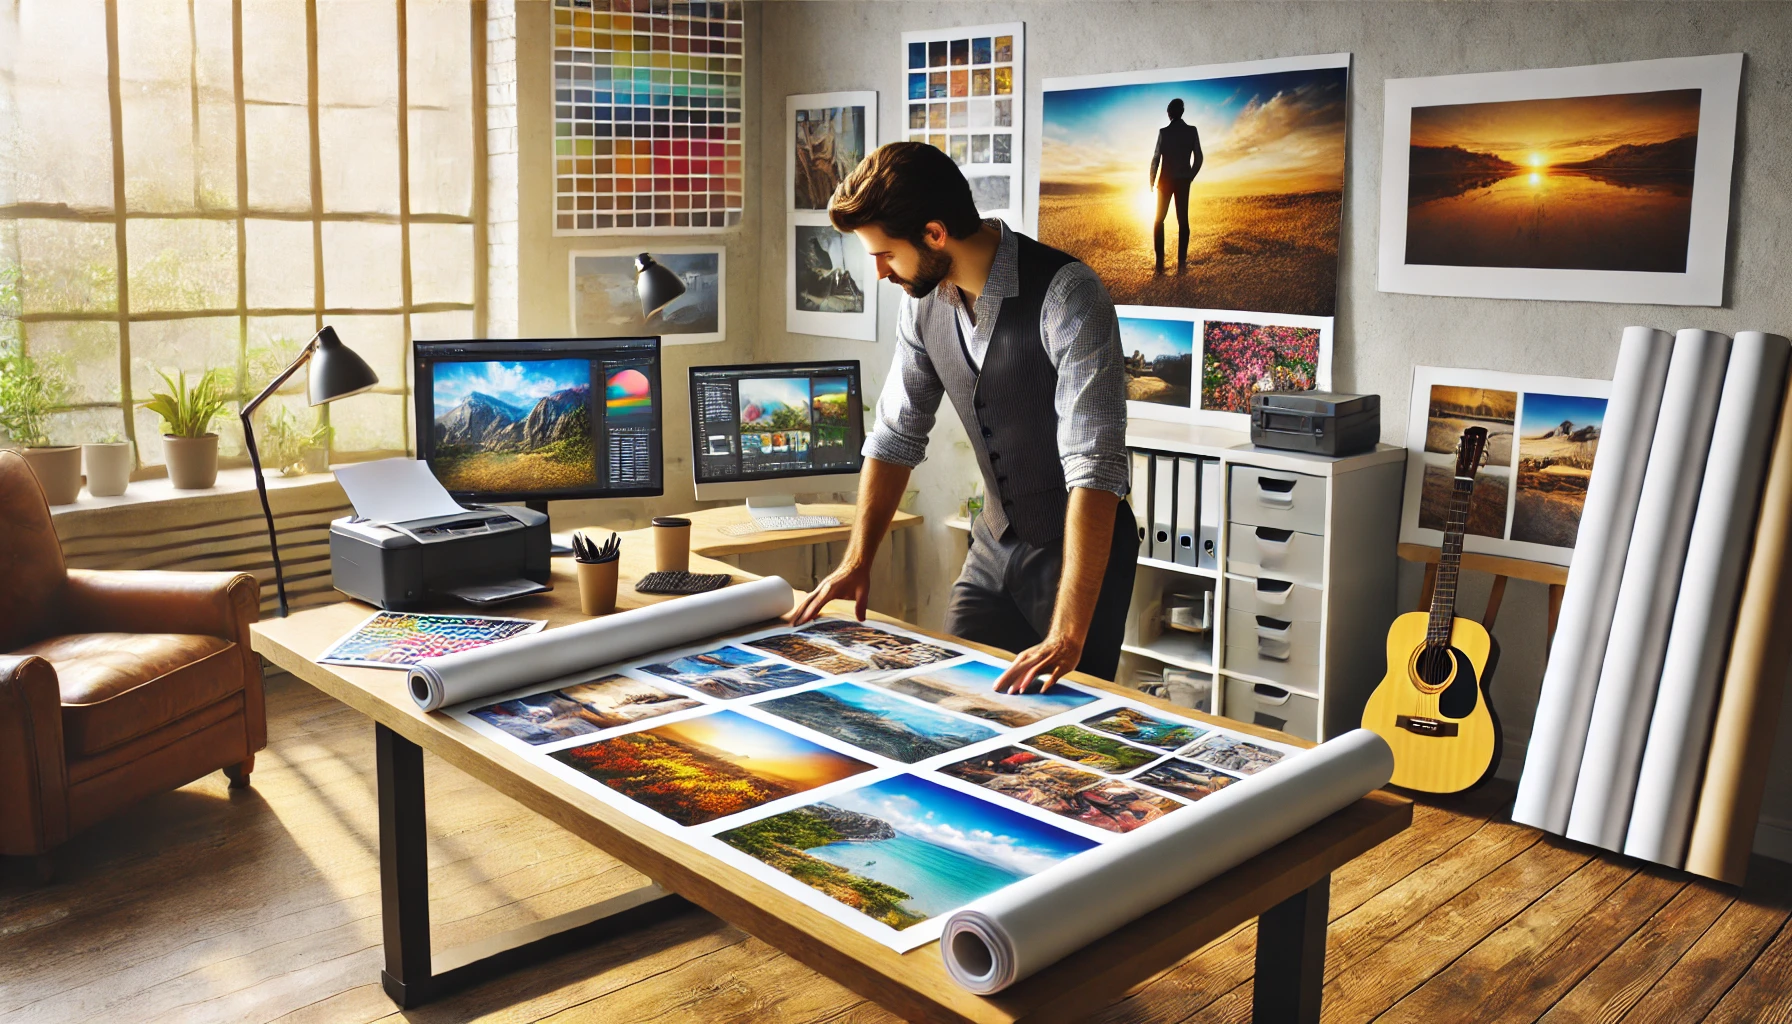
In the digital era, it’s easy to forget the power of physical photography. But for many travel photographers, printing work for exhibitions, galleries, or private clients is the ultimate way to honor a journey and transform images into timeless pieces of art. Knowing how to create print-ready travel photography for exhibitions and sales allows you to elevate your craft and open new professional opportunities.
This in-depth guide is crafted using Google’s salience score and NLP principles, incorporating LSI keywords like travel photo printing tips, gallery exhibition photography, fine art print preparation, color calibration for photographers, and selling printed travel images to boost relevance and search performance.
Why Print Travel Photography?
Prints give your work longevity, presence, and emotional impact that screens simply can’t match.
Benefits of printing your travel photos:
- Transform digital files into tangible, lasting art
- Share work in physical exhibitions or pop-up galleries
- Sell limited edition prints to collectors or fans
- Build credibility as a fine art photographer
- Decorate homes, studios, or businesses with personal storytelling
A well-made print is a photograph at its fullest expression.
Plan for Print While Shooting
Creating print-ready images starts before you click the shutter. While you can print almost any high-resolution photo, images shot with printing in mind have better composition, clarity, and visual weight.
Tips for print-aware shooting:
- Shoot in RAW for maximum detail and editing flexibility
- Use low ISO when possible to reduce digital noise
- Focus on clean, intentional composition
- Look for scenes with strong lines, textures, or layers
- Use a tripod for critical sharpness, especially in landscapes or low light
Think ahead: would this image look good at 24×36 inches on a wall?
Choose the Right Photos for Printing
Not all great photos make great prints. Choose images with impact, detail, and balance — even when viewed from a distance.
Ideal characteristics for print-ready travel photos:
- Strong subject and composition
- Balanced color palette or dramatic contrast
- Minimal digital noise or compression artifacts
- Sharp focus in key areas
- Emotional or narrative depth
Print a few 8×10″ test versions before committing to large formats. What looks good on Instagram may not translate well to fine art paper.
Edit Specifically for Print Output
Editing for print is a different process than editing for screen. Monitors are backlit and vibrant — prints are reflective and depend on ambient light.
Key adjustments for print-ready editing:
- Slightly brighten midtones to compensate for paper darkness
- Check and correct shadows and blacks — avoid crushed details
- Increase local contrast for sharpness and clarity
- Soft-proof your image using your printer and paper profiles
- Remove any dust spots or chromatic aberration
- Always calibrate your monitor using a hardware calibrator
Print what you see — and ensure what you see is accurate.
Choose the Right Paper and Printing Method
Paper type influences the mood, texture, and perceived value of your photo. Don’t default to whatever is cheapest — match the material to your vision.
Popular fine art paper options:
| Paper Type | Characteristics | Best For |
|---|---|---|
| Matte Fine Art | Soft, textured, low-reflective finish | Black & white, muted tones, landscapes |
| Glossy | High contrast, vibrant color, reflects light | Colorful travel scenes, urban shots |
| Luster/Satin | Balanced gloss and detail with reduced reflections | Versatile, good for exhibitions |
| Metallic | Rich blacks and sheen for dramatic compositions | Night scenes, moody portraits |
Printing methods:
- Giclée inkjet printing: archival quality, ideal for exhibitions
- Lab-based printing: cost-effective, better for bulk or mid-range work
- Dye-sublimation or metal prints: modern look, durable surfaces
Paper and print type are part of your artistic language.
Consider Image Size and Resolution
Resolution is key when printing large format photos. Aim for at least 300 DPI (dots per inch) at your final print size.
General size and resolution guide:
- 8×10″ print = minimum 2400×3000 pixels
- 16×24″ print = 4800×7200 pixels
- 24×36″ print = 7200×10800 pixels
If your image is slightly below ideal resolution, use high-quality upscaling software like Topaz Gigapixel AI to enlarge without significant loss of quality.
Print size tells a story — bigger isn’t always better, but impact matters.
Calibrate Your Workflow for Color Accuracy
Color accuracy ensures what you see on screen is what appears in your final print. Without proper calibration, your images may come out too dark, too warm, or distorted.
Color management essentials:
- Use a monitor calibration tool (like X-Rite or Datacolor Spyder)
- Edit in Adobe RGB or ProPhoto RGB for maximum color range
- Convert to sRGB or your printer’s profile before exporting
- Enable soft proofing in Lightroom or Photoshop to preview how colors will render on paper
Work with professional labs that provide ICC profiles for soft-proofing accuracy.
Prepare and Export Files Properly
To ensure optimal print quality, export your files with proper settings.
Export checklist:
- Flattened TIFF or high-quality JPEG
- 300 DPI resolution
- Adobe RGB or printer-specific color profile
- Crop to final size and match aspect ratio to print dimensions
- Name files clearly (e.g., “vietnam_street_market_24x36_printready.tif”)
Keep a separate folder with your final print-ready files to avoid confusion later.
Sign and Number Your Prints
If you’re selling prints as art, create limited editions and sign them by hand. This adds value and trust for collectors.
How to do it:
- Print on borderless or with white border for signing
- Use a soft pencil or archival ink pen
- Sign in bottom corner, and add title or edition number (e.g., “2/25”)
- Keep a log of all editions printed and sold
Each signed print tells a story — and becomes a collectible.
Package and Ship With Care
Whether you’re sending prints to clients or preparing for an exhibit, presentation matters.
Packaging tips:
- Use acid-free tissue between prints
- Roll large prints into heavy-duty shipping tubes
- For flat packaging, use archival mats and foam boards
- Include a certificate of authenticity for limited editions
- Consider adding care instructions for buyers
Shipping damage is costly — protect your work like it’s irreplaceable (because it is).
Sell Prints Online or at Exhibitions
Once your print process is dialed in, start offering your work to the world.
Ways to sell prints:
- Your portfolio website (use platforms like Squarespace, Shopify, or Pixpa)
- Etsy or Fine Art America for broader reach
- Exhibitions, craft fairs, or pop-ups
- Partner with interior designers, cafés, or boutique hotels
- Offer custom printing sizes or framing options
Tell the story behind each photo. People buy with their emotions, not just their eyes.
Final Thoughts: Turn Your Travels Into Timeless Art
Learning how to create print-ready travel photography for exhibitions and sales is about bridging the digital and physical — transforming a captured moment into a lasting presence.
It’s a slower, more intentional form of photography. One that invites you to revisit your archives, refine your editing, and invest in quality materials. And when you finally see your image hanging on a wall, framed and glowing with natural light, you’ll feel the full weight of your journey — and the deep reward of sharing it with others.
Print boldly. Print meaningfully. And let your travels live forever, not just on screens — but in hands, in homes, and in hearts.
Frequently Asked Questions (FAQ)
1. What resolution do I need for high-quality photo prints?
For best results, export your image at 300 DPI (dots per inch) at the desired print size. For example, a 16×24″ print should be at least 4800×7200 pixels to maintain sharpness and clarity.
2. Which paper type should I choose for travel photography prints?
It depends on the style of your image. Choose matte fine art paper for textured or subtle images, glossy for vibrant and colorful scenes, and luster/satin for a balanced, professional look. Each type offers a different mood and finish.
3. How can I ensure color accuracy when printing my photos?
Use a hardware monitor calibrator, edit in Adobe RGB or ProPhoto RGB, and soft-proof your images with the printer’s ICC profiles in Lightroom or Photoshop. Always convert to the correct color profile before exporting.
4. Do I need to sign my prints if I sell them?
Yes, especially if you’re offering limited edition prints. Signing and numbering your prints adds authenticity and value, and collectors often expect it. Include edition details (e.g., “5/25”) and a certificate of authenticity when possible.
5. Where can I sell my printed travel photography?
You can sell prints via your personal website, platforms like Etsy, Fine Art America, or through exhibitions, boutiques, and art fairs. Offering custom sizes or framed options can also help attract more buyers.