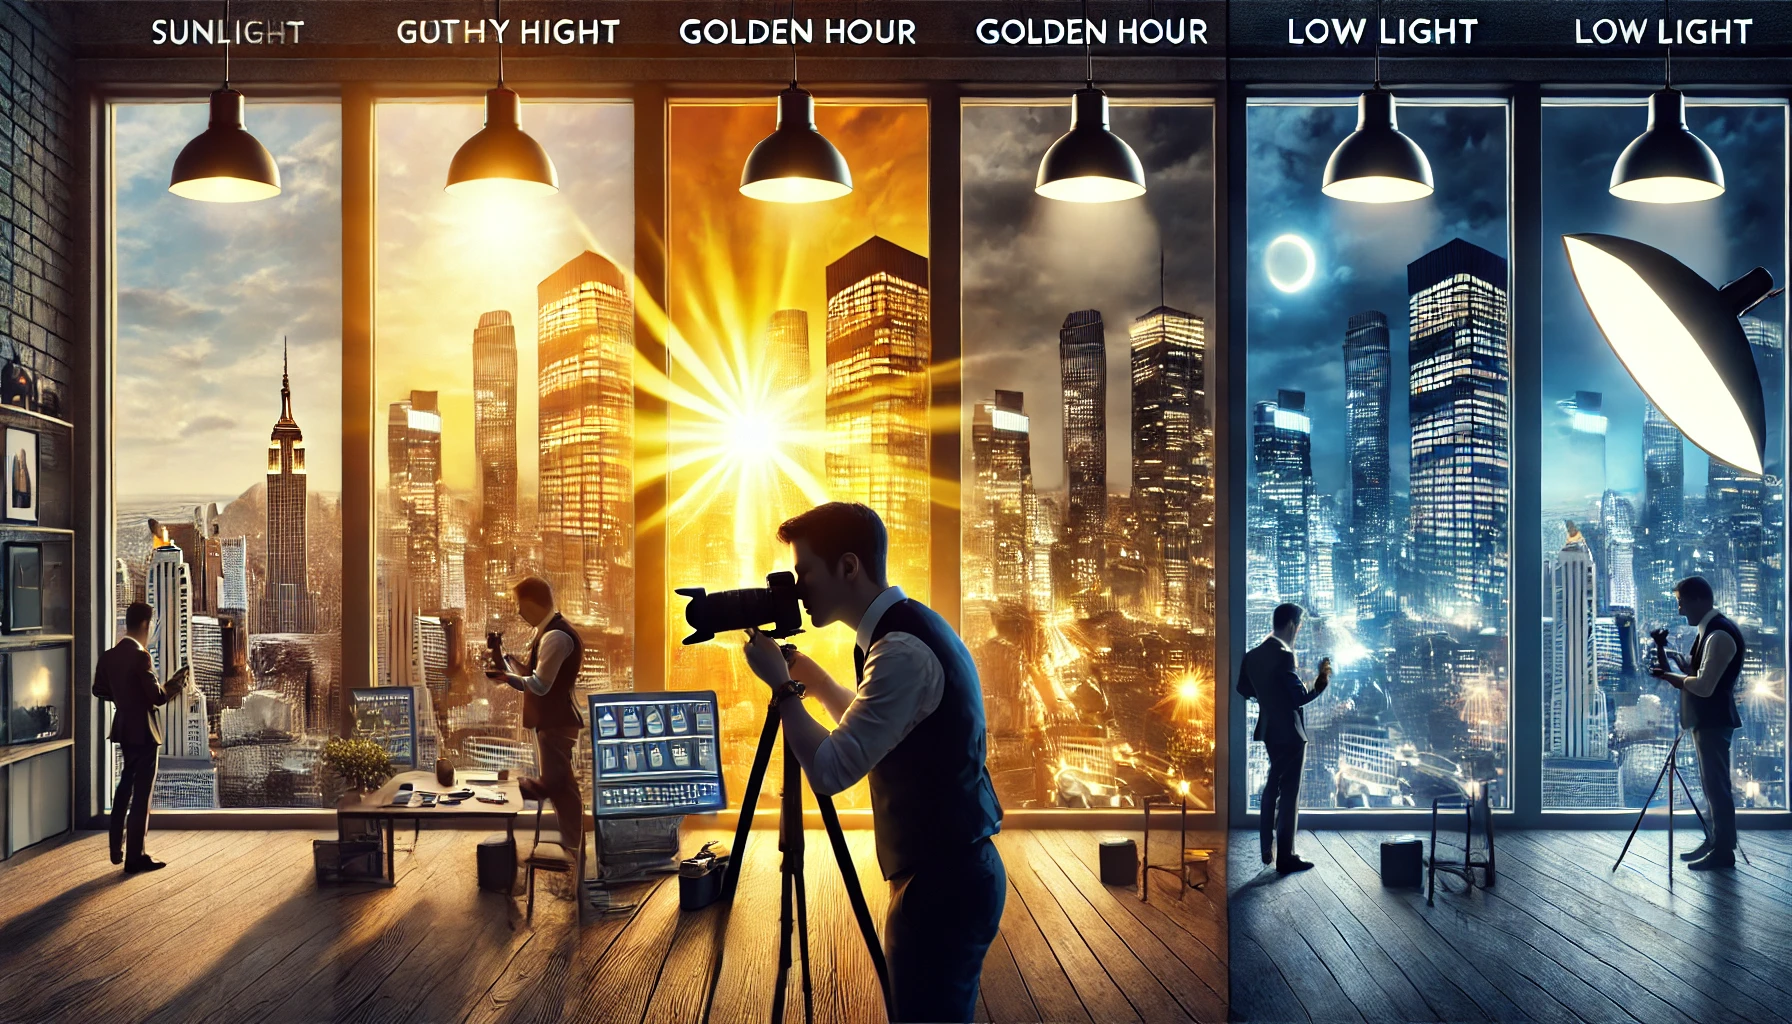
Introduction: Mastering Light for Better Photography
Lighting is one of the most important elements in photography. It can dramatically change the mood, colors, and details in an image. However, not all lighting conditions are ideal, and photographers must learn how to adapt to different situations. From harsh midday sun to dim indoor environments, understanding how to work with light will improve your ability to capture stunning photos in any scenario. This guide will cover various lighting conditions and techniques to help you get the best results, no matter the situation.
1. Shooting in Bright Sunlight (Midday Light)
Midday light, when the sun is directly overhead, is one of the most challenging conditions for photographers. It creates harsh shadows, high contrast, and overexposed highlights. Many beginners struggle to get balanced exposures in these conditions.
How to Improve Your Shots in Bright Sunlight:
- Find Shade: Moving your subject under a tree, a building, or another shaded area can soften the harsh light and create more even exposure.
- Use a Reflector: A reflector can bounce sunlight back onto your subject, reducing harsh shadows. White or silver reflectors work best for softening strong light.
- Adjust Your Camera Settings: Use a low ISO (100-200), a fast shutter speed (1/1000s or faster), and a small aperture (f/8 – f/16) to prevent overexposure.
- Use a Lens Hood: A lens hood helps block unwanted sunlight that could cause lens flare and reduce contrast.
- Shoot in RAW: RAW files retain more detail, making it easier to recover highlights and shadows during editing.
2. Photographing During Golden Hour
Golden hour is the time shortly after sunrise and before sunset. It provides soft, warm light that enhances colors and reduces harsh shadows. This is one of the best times to shoot portraits, landscapes, and street photography.
How to Make the Most of Golden Hour:
- Use a Wide Aperture (f/1.8 – f/4): This helps create a beautiful background blur (bokeh) in portraits.
- Backlight Your Subject: Position your subject between the camera and the sun for a glowing, rim-lit effect.
- Enhance Warm Tones: Golden hour naturally creates warm tones, but adjusting the white balance slightly toward warmer settings can enhance the effect.
- Use a Reflector or Fill Flash: If your subject is backlit, a reflector or a small burst of flash can help brighten the face without losing the golden background.
3. Capturing Landscapes at Blue Hour
Blue hour occurs just before sunrise and after sunset when the sky takes on deep blue tones. It is ideal for landscapes, cityscapes, and long-exposure photography.
Tips for Blue Hour Photography:
- Use a Tripod: Low light conditions require a slower shutter speed, which can introduce blur if the camera is handheld.
- Lower ISO (100-400): To minimize noise, keep ISO low and compensate with a longer exposure.
- Try Long Exposure: Set a shutter speed between 1-10 seconds to capture smooth water, light trails, or glowing city lights.
- Adjust White Balance: A cooler white balance setting (around 3000K-4000K) helps enhance the natural blue tones.
4. Shooting in Low Light or Indoors
Low-light photography presents challenges such as noise, motion blur, and underexposed images. Without proper adjustments, images can turn out grainy or too dark.
How to Get Better Shots in Low Light:
- Increase ISO: Raising ISO to 800-3200 can help brighten the image, but be mindful of noise. Some cameras handle high ISO better than others.
- Use a Wider Aperture: A lens with an f/1.8 or f/2.8 aperture allows more light to enter the sensor.
- Stabilize Your Camera: Use a tripod or rest your camera on a stable surface to avoid motion blur from slow shutter speeds.
- Use Available Light: Position your subject near a window, candle, or streetlight for natural illumination.
- Use a Fast Lens: Prime lenses like 50mm f/1.8 or 35mm f/1.4 are excellent for low-light conditions.
5. Dealing with Mixed Lighting (Indoor and Outdoor Light Sources)
Indoor lighting often mixes different types of light, such as daylight from windows and artificial lights from lamps, which can cause unwanted color casts.
How to Fix Mixed Lighting Issues:
- Adjust White Balance: Use custom white balance settings to match the dominant light source.
- Turn Off Unnecessary Lights: If daylight is available, turn off artificial lights to avoid mixed color temperatures.
- Use Flash Carefully: Direct flash can create harsh shadows, so bounce it off walls or ceilings for a more natural look.
6. Shooting in Foggy or Overcast Conditions
Fog and overcast skies create soft, diffused light, making them ideal for moody, atmospheric photography. However, images may look flat without proper contrast adjustments.
How to Enhance Foggy or Cloudy Photos:
- Use a Tripod: Fog reduces light, so using a slower shutter speed requires stability.
- Increase Contrast in Editing: Fog softens contrast, so adding a slight contrast boost in post-processing can make details stand out.
- Shoot in RAW: RAW format captures more detail, allowing for better color and exposure adjustments.
- Use Negative Space: The simplicity of foggy landscapes works well with minimalistic compositions.
7. Taking Photos at Night
Night photography allows for creative shots of city lights, stars, and illuminated subjects. However, low light conditions require careful adjustments to prevent blurry or underexposed images.
How to Capture Sharp and Well-Exposed Night Photos:
- Use a Tripod: A must-have for stability during long exposures.
- Lower ISO if Possible: Use ISO 400-800 to reduce noise, relying on longer exposures instead.
- Try a Slower Shutter Speed: Use 2-30 seconds to capture light trails or night cityscapes.
- Use Manual Focus: Autofocus may struggle in low light, so switch to manual focus for sharper images.
- Experiment with Light Painting: Use a flashlight or LED to add creative effects to long-exposure shots.
8. Using Flash for Better Lighting
Flash is useful in low light but can create harsh shadows or unnatural skin tones if not used correctly. Learning to control flash settings can help improve indoor and night photography.
How to Use Flash More Effectively:
- Bounce Flash Off Ceilings or Walls: This diffuses light and creates softer shadows.
- Use a Diffuser: A small plastic or fabric diffuser softens the intensity of the flash.
- Lower Flash Power: Instead of full power, set flash to 1/4 or 1/8 power for a more balanced look.
9. Shooting Against Bright Backgrounds (High Dynamic Range Scenes)
A bright background, such as a sunset or window, can cause your subject to appear too dark. This happens because the camera exposes for the bright areas, underexposing the subject.
How to Balance Exposure in High Dynamic Range Scenes:
- Use Exposure Compensation: Increase brightness by adjusting the exposure compensation (+1 or +2 stops).
- Use Fill Flash or a Reflector: Add light to your subject to balance the exposure.
- Shoot in HDR Mode: Some cameras and smartphones have HDR modes that combine multiple exposures for better balance.
Conclusion: Mastering Light in Any Situation
Understanding how to work with different lighting conditions is a crucial skill for photographers. Whether shooting in harsh sunlight, low light, or mixed lighting, adjusting your camera settings and using light creatively will dramatically improve your images. Practicing in various environments will help you adapt quickly and capture well-exposed, visually stunning photos. Light is the essence of photography, and by mastering it, you gain greater control over the mood, texture, and impact of your images.