Introduction: The Key to Tack-Sharp Images
One of the biggest challenges for beginner photographers is capturing sharp images. Blurry photos can be caused by camera shake, incorrect focus, slow shutter speed, or improper handling of the camera. A sharp image brings out details, makes subjects stand out, and improves the overall quality of your photography. Whether you’re shooting portraits, landscapes, or action shots, learning how to control sharpness will significantly improve your work. This guide will explain the common causes of blurriness and provide techniques to ensure consistently sharp photos.
1. Hold Your Camera Properly to Reduce Shake
Camera shake is one of the most common reasons for blurry images. Even the slightest movement while pressing the shutter button can cause a loss of sharpness, especially in low-light conditions or when using slow shutter speeds.
How to Hold Your Camera for Stability:
- Use both hands: One hand should grip the camera body, while the other supports the lens.
- Tuck your elbows close to your body for added stability.
- Stand with your feet shoulder-width apart to maintain balance.
- If possible, lean against a solid surface like a wall or tree to minimize movement.
Bonus Tip:
Use a camera strap around your neck or wrist to prevent accidental movement while shooting.
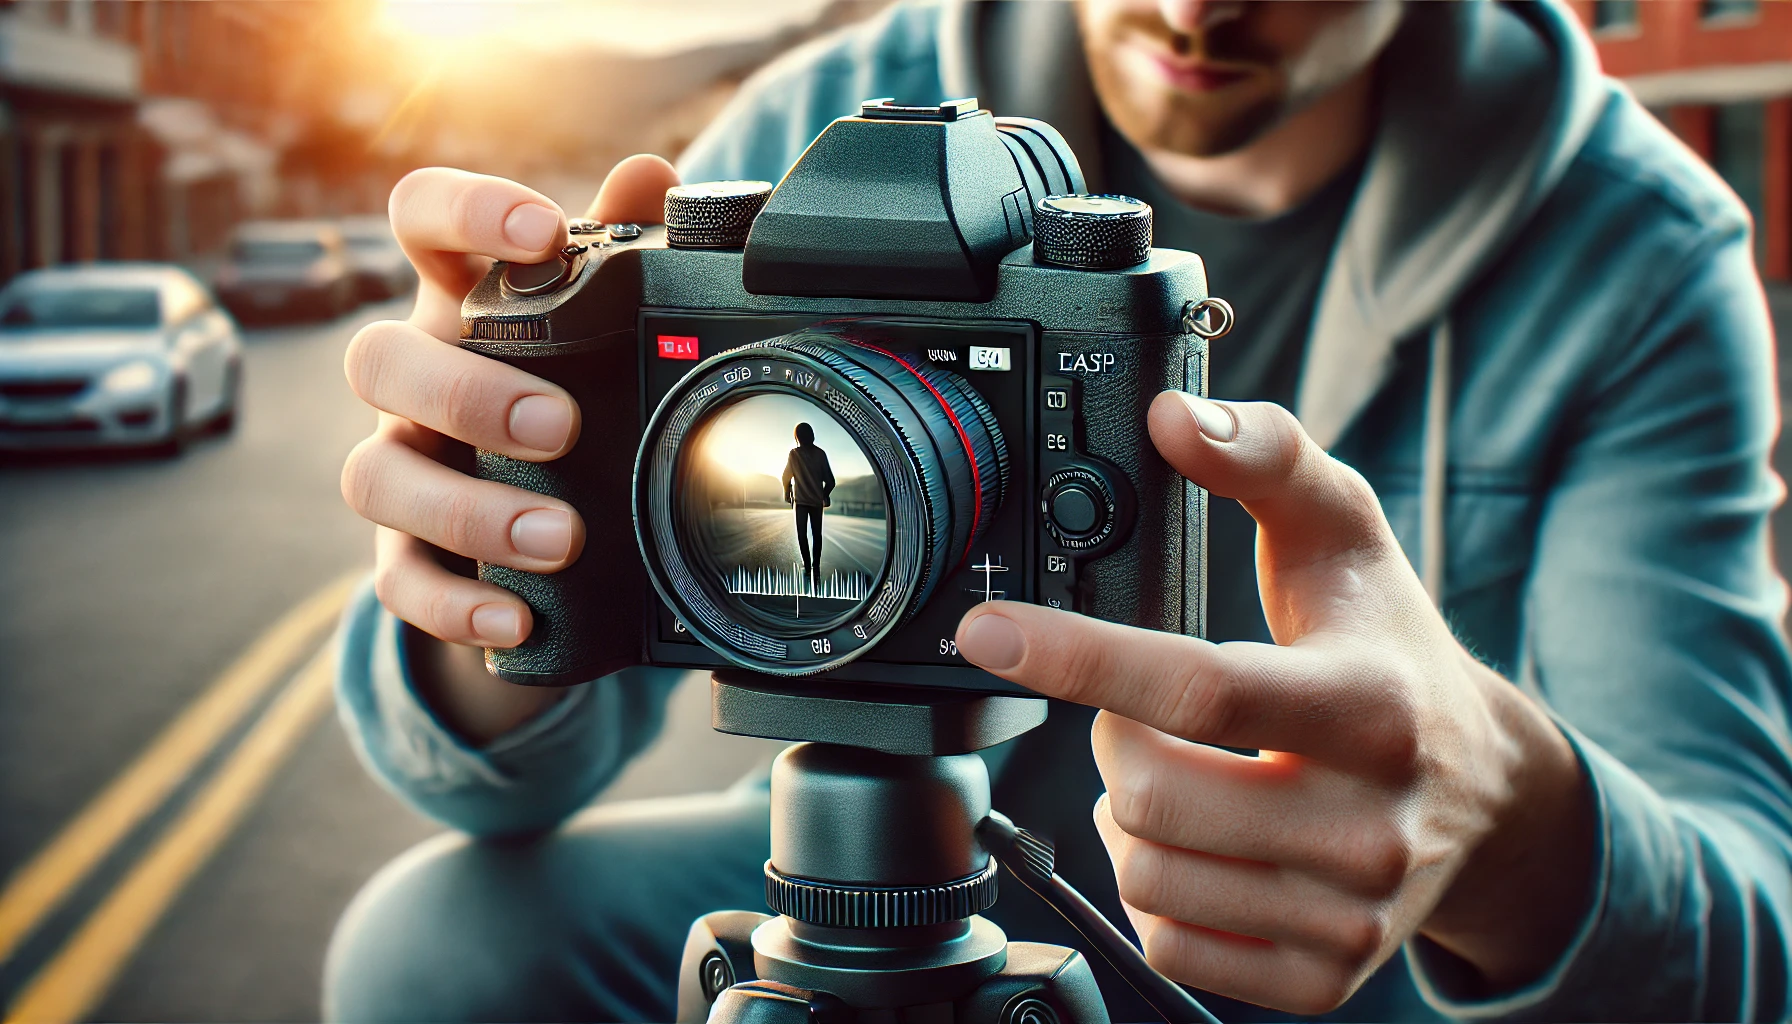
2. Use a Tripod for Maximum Stability
A tripod eliminates camera shake, ensuring sharp images, especially in low-light situations, long exposures, or macro photography.
How to Use a Tripod Effectively:
- Choose a sturdy tripod with a ball head for flexibility.
- Use a remote shutter release or a timer (2- or 10-second delay) to prevent vibrations when pressing the shutter.
- If shooting outdoors, weigh down the tripod with a bag to keep it stable in windy conditions.
3. Set the Right Shutter Speed for Your Subject
Shutter speed determines how long your camera sensor is exposed to light. A slow shutter speed increases the chances of motion blur, while a fast shutter speed helps freeze motion.
Recommended Shutter Speeds for Different Scenarios:
- 1/1000s or faster – Freezing fast-moving subjects (sports, wildlife, cars).
- 1/500s – 1/800s – General action shots (running, jumping, dancing).
- 1/250s – 1/500s – Portraits and standard handheld shots.
- 1/60s – 1/125s – Low-light conditions with a steady hand.
- Slower than 1/60s – Use a tripod to avoid blur in long-exposure shots.
Bonus Tip:
Follow the “Reciprocal Rule” – set your shutter speed at least as fast as your lens focal length. For example, if using a 50mm lens, shoot at 1/50s or faster to avoid camera shake.
4. Choose the Right Focus Mode
Incorrect focus is another common reason for blurry images. Many beginners rely on auto-focus without understanding the best settings for different situations.
Types of Autofocus Modes and When to Use Them:
- Single Autofocus (AF-S or One Shot AF) – Best for stationary subjects (portraits, landscapes, still life).
- Continuous Autofocus (AF-C or AI Servo AF) – Ideal for moving subjects (sports, wildlife, street photography).
- Manual Focus (MF) – Best for macro photography or low-light conditions when autofocus struggles.
Bonus Tip:
For portraits, always focus on the subject’s eyes, as this is where viewers naturally look first.
5. Use the Correct Aperture for Maximum Sharpness
Aperture affects depth of field and sharpness. While a wide aperture (f/1.8 – f/2.8) creates beautiful background blur (bokeh), it also narrows the focus area, making it easier to miss sharp details.
Best Apertures for Sharpness in Different Situations:
- f/1.4 – f/2.8 – Best for portraits with a soft background blur.
- f/5.6 – f/8 – Sharpest results for most general photography (landscapes, street photography).
- f/11 – f/16 – Ideal for landscapes with deep depth of field but may introduce diffraction (softening).
Bonus Tip:
Every lens has a “sweet spot” for sharpness, usually around f/5.6 to f/8 for most lenses. Experiment to find the sharpest setting for your gear.
6. Adjust ISO for Cleaner Images
While a higher ISO helps brighten images in low light, it also introduces noise, which reduces sharpness.
How to Set ISO for the Best Image Quality:
- Use ISO 100-400 for bright conditions to maintain the highest image quality.
- Increase to ISO 800-3200 for low-light conditions but balance it with a wider aperture or slower shutter speed.
- If shooting at ISO 6400 or higher, use noise reduction in editing software like Lightroom or Photoshop.
7. Use Image Stabilization (But Know When to Turn It Off)
Most modern cameras and lenses have image stabilization (IS) or vibration reduction (VR), which helps reduce blur from hand movement.
When to Use Image Stabilization:
- Shooting handheld in low-light conditions.
- Using slower shutter speeds (below 1/60s).
- Shooting video to reduce camera shake.
When to Turn Off Image Stabilization:
- When using a tripod (image stabilization can cause slight movement).
- When shooting at very fast shutter speeds (1/1000s or more), as it is unnecessary.
8. Keep Your Lens Clean for Maximum Clarity
Dust, fingerprints, or smudges on the lens can reduce image sharpness and cause unwanted glare.
How to Clean Your Lens Properly:
- Use a microfiber cloth to wipe away smudges.
- Use a blower or lens brush to remove dust.
- Avoid touching the glass with fingers to prevent oil buildup.
Bonus Tip:
A UV filter can protect your lens from dust and scratches without affecting image quality.
9. Check and Calibrate Your Lens for Better Autofocus Accuracy
Over time, some camera lenses may develop minor focusing errors, leading to slightly soft images. Professional photographers often calibrate their lenses to ensure precise autofocus.
How to Calibrate Your Lens:
- Use a lens calibration tool or test on a high-contrast subject.
- Adjust focus settings in your camera’s AF Microadjustment menu.
- If issues persist, consider sending the lens to the manufacturer for professional calibration.
10. Edit and Sharpen Photos for Extra Clarity
Post-processing can help enhance sharpness and reduce minor blur.
How to Sharpen Images in Editing Software:
- Use Adobe Lightroom or Photoshop to adjust clarity and sharpness.
- Apply Unsharp Mask or Smart Sharpen in Photoshop for detailed control.
- Use masking to selectively sharpen key areas (such as eyes in portraits).
Bonus Tip:
Avoid over-sharpening, as it can create artificial halos and make images look unnatural.
Conclusion: Mastering Sharp Photography
Capturing sharp photos requires a combination of technique, settings, and equipment handling. Proper handholding, using a tripod, adjusting shutter speed, focusing correctly, and selecting the right aperture all contribute to image sharpness. While post-processing can enhance details, getting sharp images straight out of the camera should always be the goal. With consistent practice and attention to these details, you’ll be able to take crisp, high-quality photos in any situation.