Introduction: Mastering Indoor Photography
Indoor photography presents unique challenges, such as low light, mixed lighting sources, and limited space. Without proper techniques, images can turn out grainy, blurry, or poorly exposed. However, with the right camera settings, lighting strategies, and composition techniques, you can capture high-quality indoor photos that look professional and well-balanced. Whether you’re photographing people, food, interiors, or products, these tips will help you achieve perfect indoor shots.
1. Use Natural Light Whenever Possible
Natural light is one of the best light sources for indoor photography because it provides soft, diffused illumination.
How to Use Natural Light Indoors:
- Position your subject near a window to take advantage of soft, indirect sunlight.
- Use sheer curtains to diffuse harsh light and create a natural glow.
- If the light is too strong, position your subject at an angle to the window rather than directly facing it.
- Avoid overhead lights, which can create unflattering shadows.
Bonus Tip:
Try golden hour lighting by shooting near a window early in the morning or before sunset for warm, natural tones.
2. Adjust Your Camera Settings for Low Light
Indoor lighting conditions often require specific camera settings to maintain sharpness and clarity.
Recommended Camera Settings for Indoor Photography:
- ISO: Start at ISO 400-800 and increase if necessary to brighten the image.
- Aperture: Use a wide aperture (f/1.8 – f/4) to let in more light and create a soft background blur.
- Shutter Speed: Keep it at 1/60s or faster for handheld shots to prevent motion blur. If shooting moving subjects, use 1/250s or higher.
- White Balance: Adjust based on the light source (e.g., Tungsten for warm indoor lights, Daylight for window light).
Bonus Tip:
Use manual mode or aperture priority mode (A/Av) to have better control over exposure.
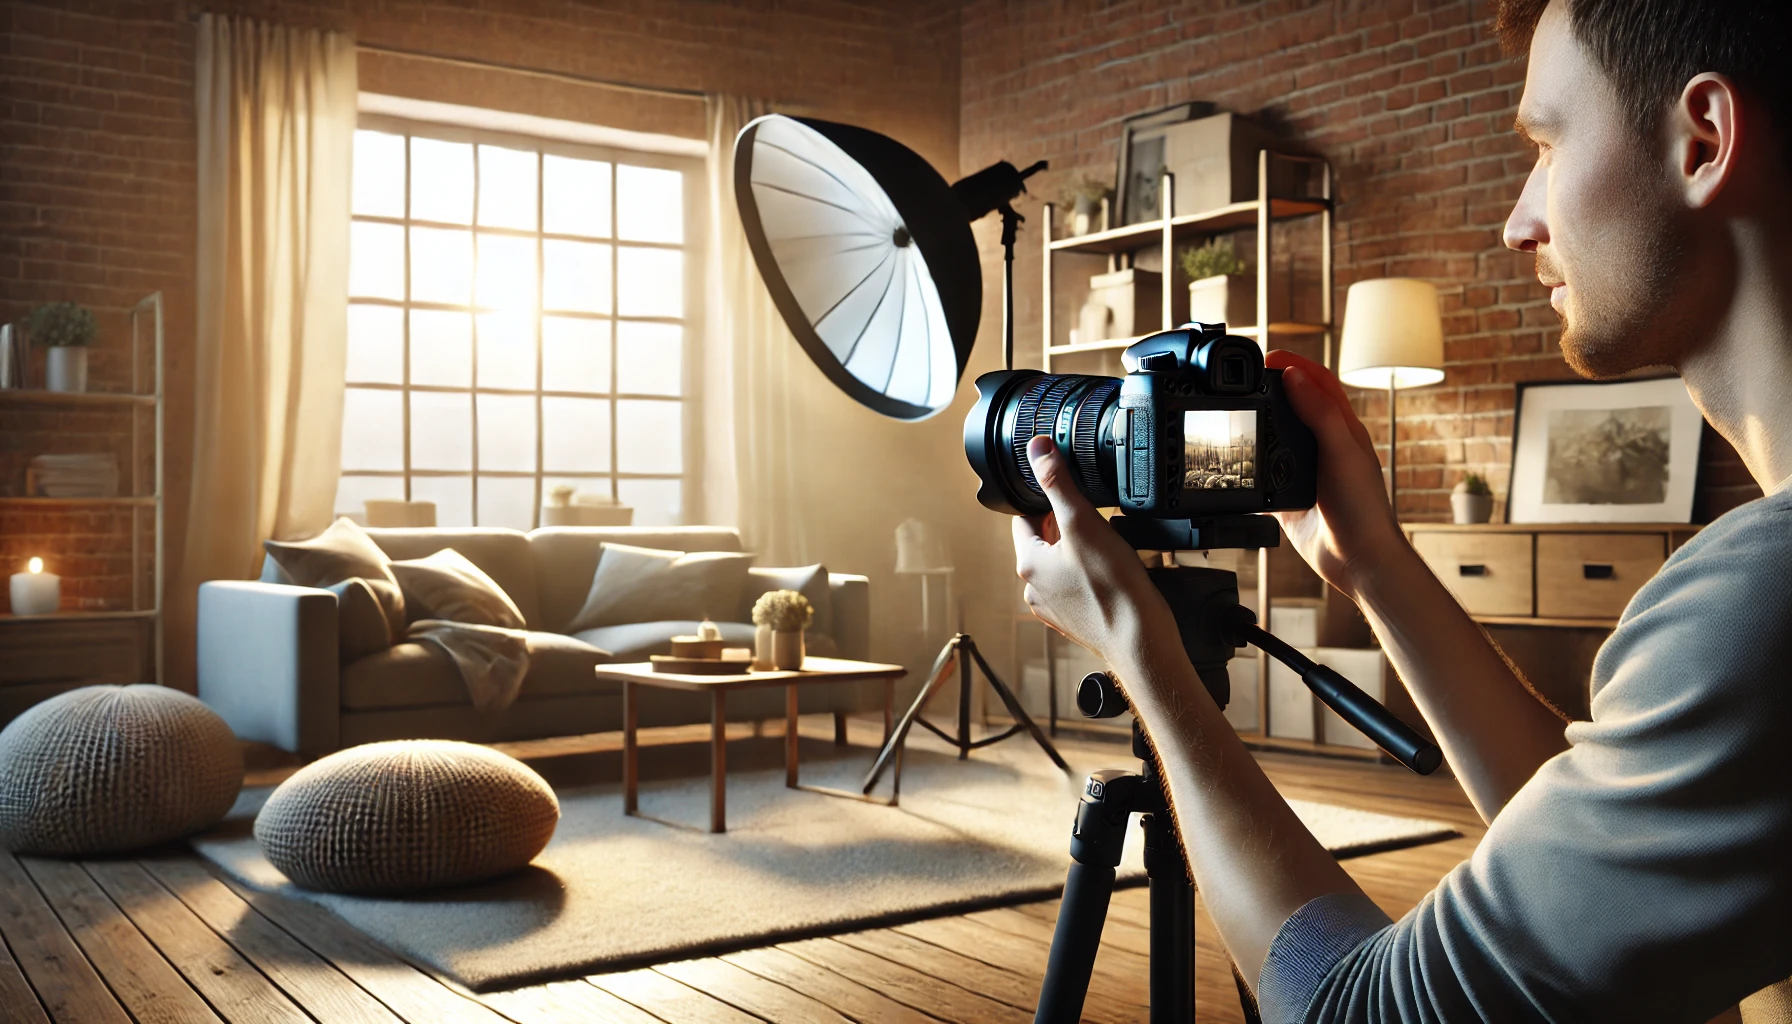
3. Use Artificial Light Effectively
When natural light isn’t available, artificial lighting can help create professional-looking indoor shots.
Best Types of Artificial Lights for Indoor Photography:
- Softboxes & LED Panels: Provide continuous, even lighting without harsh shadows.
- Ring Light: Ideal for portraits, beauty shots, and product photography.
- Bounce Flash (External Flash): Directing the flash toward a ceiling or wall creates softer, more natural light.
Bonus Tip:
Mixing different light sources (e.g., daylight from a window and warm indoor lights) can create unwanted color casts. Turn off unnecessary lights or adjust white balance to match the dominant light source.
4. Reduce Noise in Low-Light Conditions
Low light can lead to high ISO, which introduces noise and reduces image sharpness.
How to Minimize Noise in Indoor Photos:
- Keep ISO as low as possible (preferably under ISO 800).
- Use a tripod to stabilize the camera and allow for longer shutter speeds.
- Apply noise reduction in editing software like Lightroom or Photoshop.
Bonus Tip:
If using a smartphone, enable night mode to reduce graininess in low-light indoor settings.
5. Create Depth with Layers and Foreground Elements
Indoor environments can feel flat in photos if not composed correctly. Adding foreground and background elements creates depth and makes images more visually interesting.
Ways to Add Depth to Indoor Photography:
- Position objects in the foreground (e.g., flowers, curtains, or furniture).
- Use leading lines, such as hallways or window frames, to draw attention to the subject.
- Experiment with shooting through doorways or reflections for creative effects.
Bonus Tip:
Use a shallow depth of field (f/1.8 – f/2.8) to blur backgrounds and make the subject stand out.
6. Choose the Right Lenses for Indoor Photography
The lens you use impacts the sharpness, depth, and overall quality of your indoor shots.
Best Lenses for Indoor Photography:
- 50mm f/1.8 (Prime Lens): Great for portraits and general indoor photography due to its wide aperture.
- 35mm f/1.4: Offers a wider field of view while maintaining beautiful background blur.
- 24-70mm f/2.8 (Zoom Lens): Versatile for various indoor shooting situations.
- Macro Lens: Ideal for capturing detailed close-up shots of food, jewelry, or textures indoors.
Bonus Tip:
Avoid using a wide-angle lens (like 18mm) too close to the subject, as it can cause distortion.
7. Pay Attention to Background and Composition
Indoor spaces often have cluttered backgrounds that can distract from the main subject. Keeping the background clean and well-composed enhances the overall image.
How to Improve Indoor Composition:
- Use neutral or minimalist backgrounds for portraits and product shots.
- Declutter the space by removing unnecessary objects that distract from the subject.
- Try the rule of thirds to position subjects off-center for a balanced composition.
- Use negative space to create a simple, elegant composition.
Bonus Tip:
For food or product photography, use a tabletop setup with a plain background to keep the focus on the subject.
8. Experiment with Indoor Shadows and Contrast
Shadows can add mood, texture, and drama to indoor images when used creatively.
How to Use Shadows in Indoor Photography:
- Position your subject near a single light source to create dramatic shadows.
- Shoot in black and white mode to emphasize contrast and depth.
- Experiment with window blinds or patterned light for artistic shadow effects.
Bonus Tip:
Play with light direction by using side lighting for more depth or backlighting for silhouettes.
9. Capture Candid Moments for More Authentic Indoor Shots
Indoor photography isn’t just about controlled lighting and perfect settings—capturing natural moments makes images more engaging.
Tips for Capturing Candid Indoor Photos:
- Use continuous shooting mode to capture genuine expressions and movement.
- Shoot from different angles rather than always at eye level.
- Capture people in natural activities like reading, cooking, or talking.
Bonus Tip:
For indoor event photography, use silent shutter mode to avoid distracting your subjects.
10. Edit Your Indoor Photos for a Professional Look
Post-processing can help correct color balance, brightness, and sharpness, making indoor shots look more polished.
Basic Editing Steps for Indoor Photography:
- Adjust white balance to fix unwanted color casts.
- Increase exposure and contrast to enhance brightness and depth.
- Reduce noise and grain if the ISO was high.
- Sharpen details and adjust clarity to bring out textures.
Bonus Tip:
Use Lightroom presets to speed up your editing process and maintain a consistent style.
Conclusion: Mastering Indoor Photography for Stunning Results
Indoor photography comes with challenges, but by understanding lighting, camera settings, and composition techniques, you can capture beautiful and professional-looking images. Whether using natural light, artificial lighting, or a combination of both, the key is to experiment and find what works best for your space and subject. Keep practicing, refining your techniques, and using post-processing to enhance your results. With these tips, you’ll be able to take perfect indoor shots in any situation!