Introduction: The Importance of High-Quality Product Photography
In e-commerce, professional product photography is essential to attracting customers and increasing sales. Whether selling on a personal website, social media, or marketplaces like Amazon and Etsy, high-quality images help build trust and showcase the product’s details effectively.
A well-composed, well-lit photo can make the difference between a sale and a missed opportunity. The good news is that you don’t need expensive equipment to take professional-looking product photos. With the right techniques, you can create clean, attractive images that highlight your products beautifully.
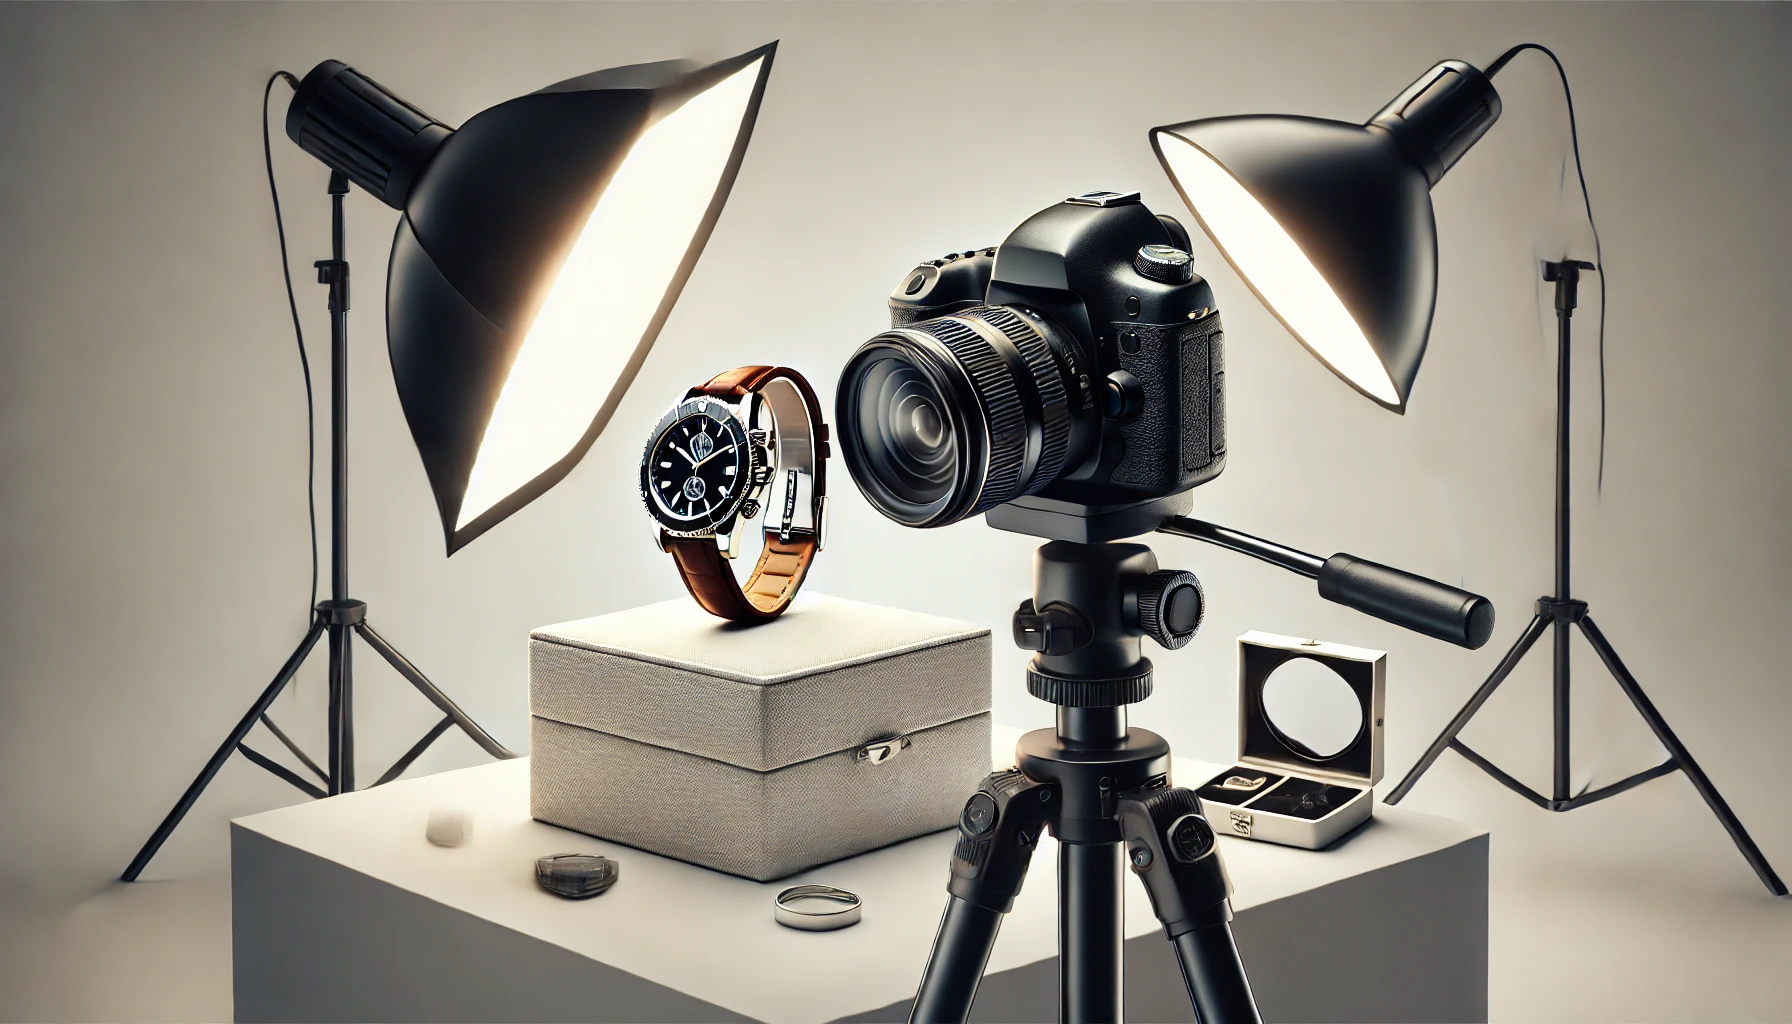
1. Choose the Right Camera and Equipment
While professional cameras provide excellent image quality, smartphones with good cameras can also produce high-quality product photos when used correctly.
Recommended Equipment for Product Photography:
- DSLR or Mirrorless Camera: A camera with manual settings allows greater control over exposure and sharpness.
- Smartphone with a Good Camera: Many modern smartphones have excellent cameras with portrait and macro modes for close-up shots.
- Tripod: A stable tripod prevents camera shake and ensures consistency across multiple shots.
- Remote Shutter or Timer: Helps avoid movement when capturing the image.
Bonus Tip:
If using a smartphone, enable grid lines in the camera settings to align your product properly.
2. Use Proper Lighting for a Professional Look
Lighting is the most important factor in product photography. The right lighting setup ensures accurate colors, removes harsh shadows, and highlights product details.
Best Lighting Options for Product Photography:
- Natural Light: Ideal for small products like jewelry, cosmetics, and handmade items. Position your product near a large window for soft, even light.
- Softbox Lights: These create diffused light, reducing harsh shadows and reflections.
- Ring Light: Great for small products, especially those with reflective surfaces.
- Lightbox (Mini Studio): A white background with built-in lights helps create professional-looking images with even lighting.
Bonus Tip:
Avoid using a direct camera flash, as it creates harsh shadows and reflections. Instead, diffuse the light using white paper or a softbox.
3. Choose the Right Background for Your Product
The background should enhance the product without distracting from it.
Best Backgrounds for Product Photography:
- White Background: Clean, distraction-free, and commonly used for e-commerce platforms.
- Neutral Tones (Gray, Beige, or Pastel): Suitable for lifestyle product shots.
- Textured Backgrounds (Wood, Marble, or Fabric): Great for handmade or luxury items, adding warmth and character.
Bonus Tip:
Use sweep paper (a curved white sheet) to create a seamless background without visible lines.
4. Set Up the Perfect Composition
Composition plays a crucial role in making your product images visually appealing.
Composition Techniques for Product Photography:
- Rule of Thirds: Place the product slightly off-center for a balanced composition.
- Fill the Frame: Ensure the product takes up most of the image to highlight details.
- Use Negative Space: Leaving space around the product makes it look clean and professional.
- Include Multiple Angles: Show all sides of the product, including close-up shots of important details.
Bonus Tip:
Use a 360-degree turntable to capture multiple angles for interactive product listings.
5. Adjust Camera Settings for Sharp and Clear Images
To achieve professional-quality photos, using the right camera settings is crucial.
Best Camera Settings for Product Photography:
- Aperture: Use a narrow aperture (f/8 – f/16) to keep the entire product in focus.
- ISO: Keep ISO between 100-400 to reduce noise and ensure clarity.
- Shutter Speed: Use a fast shutter speed (1/125s or faster) to prevent blur.
- Focus Mode: Use manual focus or single-point autofocus (AF-S) to keep the product sharp.
Bonus Tip:
If shooting on a smartphone, tap on the product to ensure it’s in focus before capturing the image.
6. Use Reflectors and Diffusers to Control Shadows
Shadows can either enhance or ruin a product photo. Controlling them is essential for a clean and professional look.
How to Manage Shadows in Product Photography:
- Use a white reflector or foam board to bounce light onto darker areas.
- Place diffusers (white fabric or softbox covers) between the light source and the product to soften harsh shadows.
- Adjust light angles to control the depth and intensity of shadows.
Bonus Tip:
For small products, a DIY lightbox (a cardboard box lined with white paper and LED lights) is an affordable way to eliminate harsh shadows.
7. Highlight Product Features with Close-Up and Detail Shots
Customers want to see all aspects of a product before purchasing. Adding close-up shots helps highlight textures, materials, and small details.
Best Practices for Detail Shots:
- Use a macro lens or macro mode for extreme close-ups.
- Show important product features like zippers, buttons, labels, or textures.
- Maintain consistent lighting across all shots to ensure uniformity.
Bonus Tip:
Take before-and-after shots for beauty, cleaning, or transformation products to demonstrate effectiveness.
8. Create Lifestyle Shots to Show the Product in Use
Lifestyle images help customers visualize how they can use the product in real life.
How to Take Effective Lifestyle Product Photos:
- Show the product in a realistic setting (e.g., a coffee mug on a desk, a backpack being worn).
- Include hands or people interacting with the product for scale and relatability.
- Maintain a consistent aesthetic across all lifestyle shots to match your brand.
Bonus Tip:
For food photography, use steam or water spray to make dishes look fresh and appetizing.
9. Edit Your Product Photos for a Professional Finish
Post-processing enhances the final image by correcting colors, adjusting brightness, and refining details.
Essential Edits for Product Photography:
- Adjust white balance to match the true color of the product.
- Increase sharpness and clarity for crisp details.
- Remove dust, smudges, or unwanted reflections using Photoshop or Lightroom.
- Crop and align images for a consistent look across your product listings.
Bonus Tip:
Use batch editing in Lightroom to apply the same adjustments to multiple product images for consistency.
10. Optimize Your Images for Online Sales
Large, unoptimized images can slow down websites and affect user experience. Properly formatting your photos ensures they load quickly and display correctly.
Best Practices for Optimizing Product Images:
- Save images in JPEG or PNG format for web use.
- Resize images to 1200px – 2000px on the longest side to balance quality and speed.
- Compress images using tools like TinyPNG or JPEGmini to reduce file size.
- Use ALT text descriptions for SEO and accessibility benefits.
Bonus Tip:
Ensure images meet the image requirements of e-commerce platforms like Amazon, Etsy, or Shopify to avoid upload issues.
Conclusion: Elevating Your Product Photography
Professional product photography is a key factor in increasing online sales. By using proper lighting, backgrounds, composition, and editing techniques, you can create high-quality images that attract customers and build trust. Whether you’re using a DSLR or a smartphone, following these tips will help you take stunning product photos that make your items stand out. Consistency, attention to detail, and creativity will set your product photography apart from the competition.