Editing photos can be a time-consuming process, but using presets in Adobe Lightroom helps streamline the workflow and maintain a consistent style. Presets are pre-configured editing adjustments that can be applied to multiple images with a single click, saving time and ensuring uniformity across a portfolio. Creating custom presets allows photographers to develop a signature look and optimize post-processing for faster, more efficient editing. Understanding how to create, use, and organize presets properly enhances productivity and improves the overall quality of edited images.
Benefits of Using Presets in Lightroom
Presets are useful for photographers of all levels, whether editing wedding photos, portraits, landscapes, or commercial images. The main benefits of creating and using presets include:
- Time-saving efficiency: Instead of manually adjusting settings for each photo, presets apply edits instantly.
- Consistency in style: A defined editing look across all images improves branding and professionalism.
- Simplified workflow: Presets help photographers edit large batches of photos quickly.
- Customizability: Each preset can be fine-tuned to match different lighting conditions and creative preferences.
Choosing the Right Editing Style Before Creating a Preset
Before creating a preset, it’s important to decide on an overall editing style. Common styles include:
- Bright and Airy: Light tones, reduced contrast, and soft highlights create a fresh, clean look.
- Dark and Moody: Deep shadows, desaturated colors, and high contrast add drama to images.
- Cinematic: Rich colors, warm tones, and subtle grain provide a movie-like aesthetic.
- Vibrant and Bold: High saturation and contrast make colors pop for a striking effect.
- Black and White: Adjustments in contrast and grain create classic monochrome images.
Having a clear vision of the desired outcome ensures that presets are created with purpose and function well across different images.
Adjusting Basic Settings Before Saving a Preset
Creating a preset starts with editing an image manually in Lightroom Classic or Lightroom CC. Adjusting key settings before saving ensures that the preset enhances images effectively. The following adjustments form the foundation of a well-balanced preset:
- Exposure: Adjust brightness levels to ensure the image is neither too dark nor too bright.
- Contrast: Increasing contrast deepens shadows and highlights, while reducing it creates a softer effect.
- Highlights and Shadows: Adjusting these settings helps recover details in bright and dark areas.
- Whites and Blacks: Fine-tuning white and black levels ensures proper balance in tones.
- White Balance (Temperature & Tint): Setting the correct color temperature prevents unwanted color casts.
- Vibrance and Saturation: Vibrance enhances colors selectively, while saturation boosts all colors equally.
These adjustments serve as the base settings before moving on to more advanced refinements.
Fine-Tuning Tone Curves for Depth and Dimension
The Tone Curve panel provides more precise control over contrast and tonal balance. Adjusting the curve shapes the overall mood of an image.
- A slight S-curve deepens shadows while keeping highlights bright, adding dimension.
- A flat curve creates a faded or vintage effect by lifting blacks and lowering whites.
- A high-contrast curve enhances details in dramatic edits.
Experimenting with different curve shapes helps define a unique editing style for presets.
Using HSL/Color Panel to Enhance Colors
The HSL (Hue, Saturation, and Luminance) panel allows for selective color adjustments, ensuring that tones remain balanced.
- Hue shifts the color tone of specific colors (e.g., making greens more yellow or blue).
- Saturation increases or decreases the intensity of a specific color.
- Luminance controls the brightness of each color.
For example, a warm and earthy preset may involve desaturating blues while boosting orange tones, while a vibrant preset might enhance greens and yellows for a lively look.
Adding Detail and Texture Enhancements
Sharpening and texture adjustments improve clarity without making images appear over-processed.
- Sharpening enhances edge details for a crisper look.
- Texture increases fine details in surfaces without affecting larger areas.
- Clarity boosts midtone contrast, making images appear more defined.
- Dehaze removes atmospheric haze and enhances contrast in landscapes.
Applying subtle adjustments ensures that images maintain a professional and natural appearance.
Applying Effects for a Signature Look
Adding effects like grain, vignettes, or color grading enhances the overall aesthetic.
- Grain creates a film-like texture, useful for vintage or cinematic styles.
- Vignette darkens edges to draw focus toward the center of the image.
- Split Toning (Color Grading) adjusts highlight and shadow tones for a unique color balance.
For example, a cinematic preset may include a blue tint in shadows and a warm tone in highlights for a classic movie feel.
Saving and Naming a Custom Preset in Lightroom
Once satisfied with the adjustments, saving the preset makes it reusable for future edits.
Steps to Save a Preset in Lightroom Classic
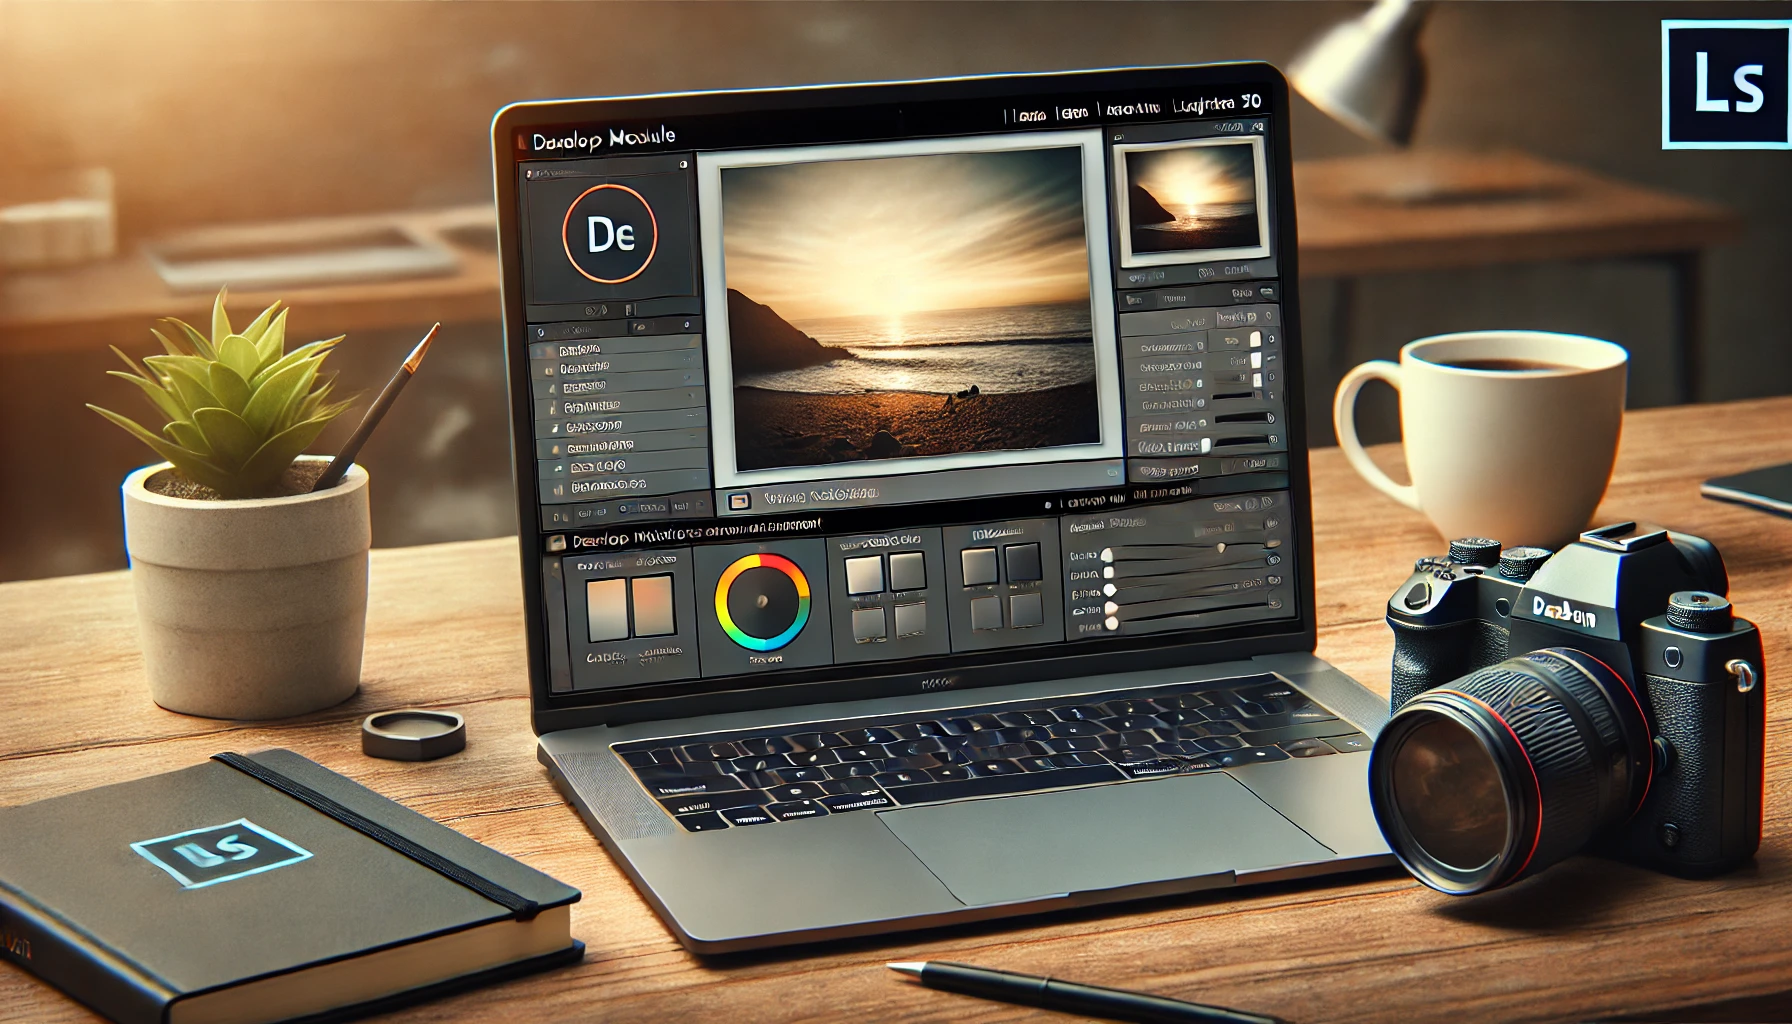
- Click the Develop module and adjust the desired settings.
- On the left panel, click the “+” icon in the Presets section and select “Create Preset.”
- Name the preset descriptively (e.g., “Warm Portrait Preset” or “Moody Landscape”).
- Select which settings to include (avoid exposure if lighting conditions vary).
- Click Save, and the preset appears in the User Presets folder.
Steps to Save a Preset in Lightroom CC
- Edit an image with the preferred adjustments.
- Click the Preset panel and choose “Create Preset.”
- Name the preset and select which settings to include.
- Click Save, and the preset is added to the list for future use.
Applying Presets and Making Adjustments
Once a preset is applied to an image, minor adjustments may be needed depending on exposure and lighting. Presets serve as a starting point, so fine-tuning exposure, white balance, or specific colors ensures each image looks its best.
Batch processing speeds up workflow by applying presets to multiple images at once. In Lightroom Classic, selecting multiple images and syncing the preset across all ensures efficiency.
Organizing and Exporting Presets for Future Use
Well-organized presets make editing smoother. Creating folders for different styles (e.g., Portraits, Landscapes, Black & White) keeps presets easily accessible.
Presets can also be exported and shared with others:
- Right-click a preset in Lightroom Classic.
- Select “Export” and save the file as an XMP file.
- These files can be shared or backed up for future use.
Importing presets into another device is as simple as dragging the XMP files into Lightroom’s Presets folder.
Conclusion: Streamlining Workflow with Custom Lightroom Presets
Creating custom Lightroom presets optimizes workflow, ensuring consistency and efficiency in editing. By adjusting exposure, color balance, contrast, and effects, photographers can develop unique presets that enhance their work. Saving and organizing presets properly makes them easily accessible for future projects, while batch processing speeds up editing for large photo collections. With practice, using presets helps photographers refine their editing style, maintain a cohesive look, and focus more on creativity rather than repetitive adjustments.