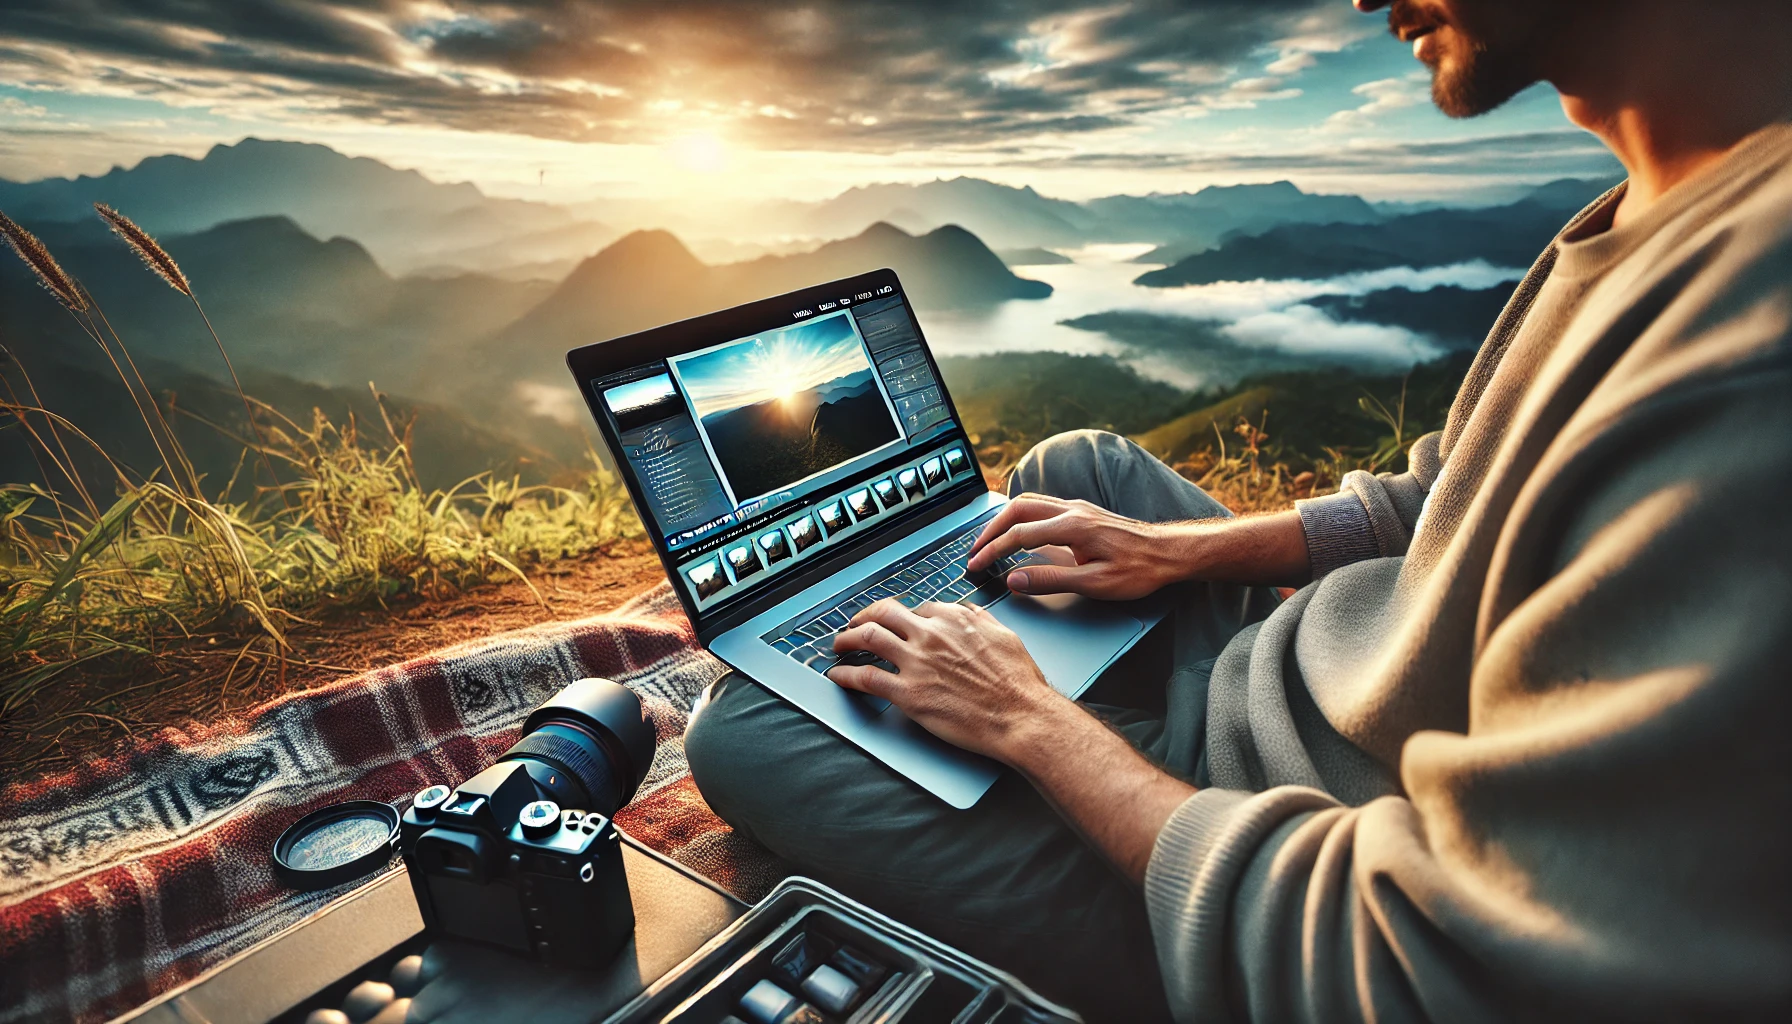
Capturing travel photos is only the first part of the storytelling process. The real magic often happens in post-processing, where colors come to life, shadows tell deeper stories, and emotions are enhanced with subtle adjustments. Knowing how to edit travel photos like a pro allows you to turn good images into unforgettable ones — and gives your work the polish and consistency that define a professional portfolio.
This complete guide applies Google salience score and NLP principles, while weaving in LSI keywords such as editing travel photography in Lightroom, photo color grading techniques, retouching landscape photos, editing styles for travel bloggers, and photo post-processing tips — boosting both human and algorithmic understanding.
Understand the Purpose of Editing in Travel Photography
Editing isn’t about “fixing” bad photos. It’s about enhancing what’s already there, reinforcing the mood, correcting exposure or balance issues, and crafting a visual identity.
Key goals of editing:
- Restore accurate or enhanced colors and lighting
- Remove distractions or imperfections
- Create consistency across a photo series
- Translate the emotion or atmosphere of the location
- Express your unique style and signature look
Editing should honor the story of the image, not overshadow it.
Choose the Right Editing Software
Your tools matter. The best editing platforms offer flexibility, professional features, and ease of workflow — especially when working with many images from a trip.
Recommended tools:
| Software | Best For |
|---|---|
| Adobe Lightroom | Global adjustments, batch editing, presets |
| Adobe Photoshop | Advanced retouching, layering, fine details |
| Capture One | High-end color control and RAW processing |
| Luminar Neo | AI-enhanced tools and mood-based editing |
| VSCO / Snapseed | Quick mobile edits for social sharing |
For most travel photographers, Lightroom is the best starting point due to its intuitive interface and powerful catalog system.
Work With RAW Files for Maximum Control
Always shoot and edit in RAW format whenever possible. RAW files retain all the image data captured by the camera sensor, giving you far more flexibility in post-processing.
Benefits of RAW:
- Better exposure recovery in highlights and shadows
- Accurate white balance adjustments
- More control over color grading and tone curves
- Less compression = higher image quality
- Ideal for print and publication standards
RAW is your digital negative — treat it with care.
Start With Basic Corrections
Before diving into creative edits, always begin with basic corrections. This creates a clean and neutral foundation.
Key basic edits in Lightroom or Capture One:
- Crop and straighten: fix alignment and improve framing
- Exposure: adjust brightness overall
- Contrast: create depth between light and dark areas
- Highlights and shadows: recover detail in skies, faces, or dark corners
- White balance: adjust warmth or coolness based on light
- Clarity and texture: enhance midtone details without over-sharpening
Apply these globally first — then refine with local tools as needed.
Apply Lens Corrections and Remove Distortions
Every lens has natural distortion, vignetting, or chromatic aberration. Most editing software can automatically correct this using metadata.
What to correct:
- Barrel or pincushion distortion (especially in wide-angle shots)
- Vignetting at the edges of the frame
- Color fringing (purple or green edges in high-contrast areas)
Use the Lens Correction panel in Lightroom to auto-detect and fix most issues.
Use HSL to Control Specific Colors
The HSL panel (Hue, Saturation, Luminance) is a powerful way to fine-tune the color palette in your image — especially useful in landscapes, architecture, and cultural scenes.
Example adjustments:
- Shift blues in the sky to make them deeper or softer
- Desaturate greens in jungle shots for a moody look
- Boost orange luminance to brighten skin tones in portraits
- Harmonize tones for a more cinematic or pastel style
Mastering HSL gives you control over the emotional tone of your image.
Use Local Adjustments for Precision
Not every part of an image needs the same treatment. Use masks, gradients, and brushes to apply edits selectively.
Use these tools for:
- Brightening faces or subjects
- Darkening or softening skies
- Enhancing texture in foregrounds
- Removing highlights from water or glass
- Guiding the viewer’s eye through contrast
Lightroom’s AI masking can now auto-detect people, skies, and backgrounds — saving time and improving accuracy.
Explore Color Grading for Style and Mood
Color grading goes beyond correction — it’s where your artistic vision comes to life. It’s especially useful in travel photography to define your visual identity.
Color grading techniques:
- Use split toning to add warmth to highlights and coolness to shadows
- Apply cinematic LUTs or presets to create a consistent series look
- Experiment with teal & orange, vintage tones, or earth palettes
- Use the Color Grading wheels to manipulate shadow, midtone, and highlight hues separately
Great travel photographers often have a recognizable “look” — color grading is how they achieve it.
Clean Up Distractions With Spot Removal or Cloning
Sometimes a great photo has minor distractions: trash on the ground, people in the background, dust spots on the lens. Cleaning these enhances impact.
Tools to use:
- Healing brush (Lightroom) for dust, blemishes, or small items
- Clone stamp (Photoshop) for complex removals
- Content-Aware Fill (Photoshop) to remove larger elements seamlessly
If it doesn’t serve the story, it can go.
Sharpen and Export Properly
Sharpening helps finalize the image, especially for print or high-res display. But be careful — too much can make photos look artificial.
Sharpening and export tips:
- Apply standard sharpening after resizing
- Use output-specific settings (screen, web, print)
- Export in JPEG (for online use) or TIFF (for print or clients)
- Set correct color profile (sRGB for web, AdobeRGB for print)
How you export is how your work is remembered.
Create and Use Presets to Speed Up Workflow
Presets are custom editing recipes that you can apply to multiple images — speeding up your workflow while maintaining visual consistency.
Best practices for presets:
- Create your own based on real edits that worked well
- Use separate presets for landscapes, cityscapes, portraits, etc.
- Adjust after applying — no preset is one-size-fits-all
- Avoid overly extreme presets unless it fits your brand style
You can also sell or share your presets as digital products or freebies to grow your audience.
Keep a Consistent Editing Style
Consistency is essential if you want to build a professional portfolio, grow on social platforms, or be recognized for your work.
To stay consistent:
- Use a color palette or preset family
- Edit in similar lighting environments
- Think in series, not just single images
- Compare your photos side-by-side as you work
Consistency builds trust — and brand identity.
Final Thoughts: Let Editing Serve the Story
Learning how to edit travel photos like a pro is less about following trends and more about honing your eye, building your style, and respecting the authenticity of your experience.
When done right, editing becomes an extension of your creative vision — a way to translate not just what you saw, but what you felt. Let your edits be thoughtful, intentional, and in service of the story you’re telling.
Because in travel photography, the journey continues long after the shutter clicks. It lives in the mood, tone, and detail — in every edit that brings the moment back to life.
Frequently Asked Questions (FAQ)
1. Should I always shoot in RAW for travel photography?
Yes — RAW files preserve far more image data than JPEGs, giving you better control over exposure, color, white balance, and detail in post-processing. They’re essential for professional-level editing, especially in varied lighting conditions during travel.
2. What’s the best editing software for travel photos?
Adobe Lightroom is the most popular for travel photographers due to its powerful batch editing, catalog organization, and seamless mobile-to-desktop workflow. For detailed retouching or compositing, Adobe Photoshop is ideal. Alternatives include Capture One, Luminar, and mobile apps like Snapseed.
3. How can I make my edits look more consistent across different travel photos?
- Use the same presets or editing style across a series
- Stick to a limited color palette
- Shoot in similar lighting conditions when possible
- Edit with a reference image open to match tones and mood
- Focus on tone curves, HSL, and color grading tools for harmony
Consistency builds your visual identity and makes your portfolio look more professional.
4. Is it okay to use presets when editing travel photos?
Yes, presets can speed up your workflow and help maintain consistency, especially across large batches. Use them as a starting point and always fine-tune for each image. Many pro photographers create and sell their own preset packs tailored to different travel styles.
5. How much editing is too much in travel photography?
There’s no one-size-fits-all answer, but if your edits distract from the story, remove authenticity, or look unnatural, it may be too much. Aim to enhance, not distort the reality of the scene. Subtlety often creates the most powerful impact.