Posting travel photos on social media has become a common way to share adventures, but with millions of images being uploaded daily, how can your pictures truly stand out? Whether you’re a casual traveler or aspiring content creator, learning how to make your photos pop on social media can help you gain more engagement, express your creativity, and build a unique visual presence.
Here’s everything you need to know to elevate your travel photos and make them impossible to scroll past.
Start with a Story, Not Just a Snapshot
People don’t just want to see pretty pictures — they want to feel something. Before you press the shutter, ask yourself:
- What am I trying to say with this photo?
- What’s the mood or story behind the image?
- What makes this moment unique?
Your photo should capture a narrative: a local market buzzing with life, a peaceful solo hike, or a quiet sunrise in a foreign land. Let each image speak for itself — or support it with a caption that brings it to life.
Focus on Strong Composition
Composition can make or break a photo. Great lighting and location won’t matter if the composition is off. Try these simple but powerful techniques:
- Rule of thirds: Place your subject off-center to create a more dynamic image.
- Leading lines: Roads, bridges, or fences draw the viewer’s eye into the scene.
- Framing: Use doorways, arches, or natural elements to frame your subject.
- Negative space: Let your subject breathe with space around it — especially in wide landscapes.
These techniques instantly make your photos feel more professional and intentional.
Edit with Consistency and Style
Editing is a crucial step in creating eye-catching photos for social media. But consistency is key — having a signature style helps people recognize your work instantly.
- Use editing apps like Lightroom Mobile, VSCO, or Snapseed.
- Stick to a color palette: warm tones, natural colors, moody blues — whatever matches your vibe.
- Adjust contrast, exposure, sharpness, and white balance for balance and clarity.
- Avoid over-editing: skin should look real, skies shouldn’t glow neon unless that’s your brand.
If you want to streamline your editing, consider creating or buying presets that you can apply across your gallery.
Use Natural Light to Your Advantage
Light is the soul of photography. For travel photos, natural light is often your best friend — especially when you time it right.
- Golden hour: Shoot during sunrise or sunset for warm, glowing tones.
- Blue hour: Great for moody cityscapes or post-sunset scenes.
- Overcast skies: Soft light helps with even skin tones and fewer harsh shadows.
- Avoid midday harshness: Direct sun can flatten your photos — unless you use it creatively.
No filter can replace beautiful, natural light. Learn to see and work with it.
Capture the Unexpected
While landmarks and iconic views are important, the photos that truly stand out often show something different.
- A behind-the-scenes moment
- A street performer mid-act
- A candid laugh between locals
- A detail others might miss (textures, reflections, shadows)
Travel is about discovery — and the unexpected often tells the best story.
Think Beyond the Selfie
There’s nothing wrong with a selfie, but if every travel photo is just you smiling at the camera, it starts to feel repetitive.
Try these alternatives:
- Silhouette shots
- Walking into the frame
- Looking away from the camera
- Interacting with the environment (e.g., admiring a view, sipping local coffee, touching a wall with texture)
These approaches feel more cinematic, storytelling-driven, and visually engaging.
Use Captions that Connect
Your photo might grab attention, but your caption keeps people engaged. Use it to:
- Share a quick travel story
- Offer a fun or surprising fact
- Ask a question to encourage interaction
- Include an inspiring quote (when it fits)
Keep it authentic, brief, and aligned with your tone — funny, poetic, honest, or curious.
Hashtag Smart, Not Hard
Hashtags help people discover your content — but too many or irrelevant ones can look spammy.
- Use a mix of broad (#travel, #wanderlust) and niche tags (#solotravelinSpain, #hiddenbeachvibes)
- Stick to 5–15 high-quality hashtags
- Research hashtags used by accounts similar to yours
- Try location-specific ones like #paristhroughmylens or #tokyotravelpics
This increases visibility without sacrificing professionalism.
Engage with Your Community
Social media is two-way. If you want more eyes on your work, be part of the conversation.
- Like, comment, and save content from other creators
- Respond to comments on your own posts
- Use stories and reels to interact in real-time
- Join travel or photography-related challenges
When you support others, they’re more likely to support you in return.
Post at the Right Time
Timing affects how many people see your content. Use analytics to identify:
- What time your followers are most active
- Which types of posts perform best
- The days when you get the most engagement
Apps like Later or Meta Business Suite help schedule your content at the best times for visibility.
Make Your Feed a Journey, Not Just a Gallery
Social media isn’t just about single images — it’s about creating a journey. When people scroll through your profile, it should feel like they’re traveling with you. Use highlights, stories, and carousels to guide them through your experiences.
Your photos don’t need to be perfect — they need to be real, intentional, and memorable. When your personality, creativity, and travel story shine through, your photos will naturally rise above the noise.
Frequently Asked Questions (FAQ)
1. Do I need expensive equipment to start travel photography?
Not at all. Many beginners start with a smartphone or an entry-level mirrorless/DSLR camera. What matters most is your ability to see creatively, understand light, and compose strong images. As your skills grow, you can invest in more advanced gear.
2. What’s the difference between a DSLR and a mirrorless camera?
DSLRs use a mirror and optical viewfinder, while mirrorless cameras are more compact and use electronic viewfinders or LCD screens. Mirrorless systems are becoming more popular for travel due to their lightweight design and excellent performance.
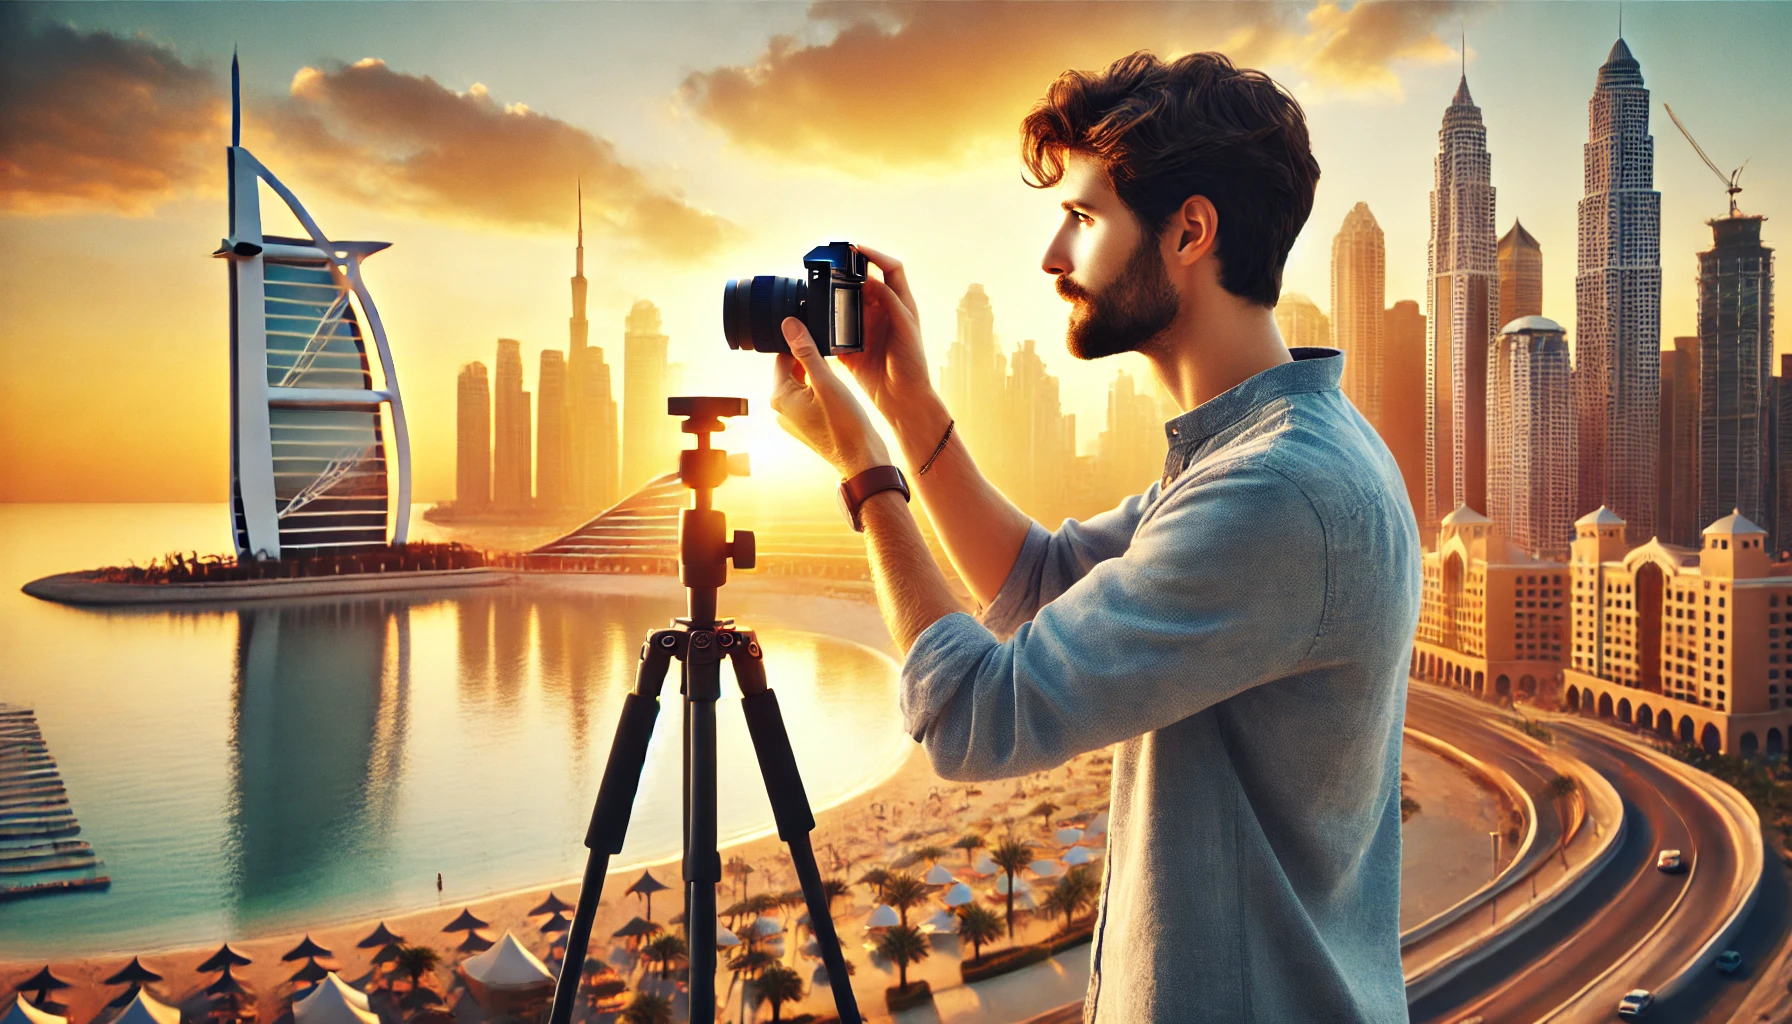
3. Is it worth bringing a tripod while traveling?
Yes — especially for landscapes, low-light situations, and self-portraits. Lightweight travel tripods or flexible options like GorillaPods are ideal for solo travelers who need stability without bulk.
4. How many lenses should I bring on a trip?
For beginners, one or two versatile lenses are enough. A standard 18–55mm kit lens or a 24–70mm zoom lens covers most situations. If you want to go further, consider a wide-angle for landscapes or a prime lens (like 50mm) for portraits and low light.
5. Are smartphones good enough for travel photography?
Absolutely. Many modern smartphones offer excellent cameras with features like wide-angle, portrait mode, and RAW shooting. If you learn to use your phone’s camera settings and edit properly, your photos can rival those from larger cameras.