Introduction: Mastering Night Photography
Night photography presents a unique challenge, as capturing sharp, well-exposed images in low light requires a different approach than daytime shooting. However, with the right techniques, you can create stunning images of cityscapes, stars, light trails, and more. Understanding camera settings, stabilizing your shots, and using available light creatively will help you take breathtaking night photos. This guide will cover essential tips and tricks to improve your night photography skills.
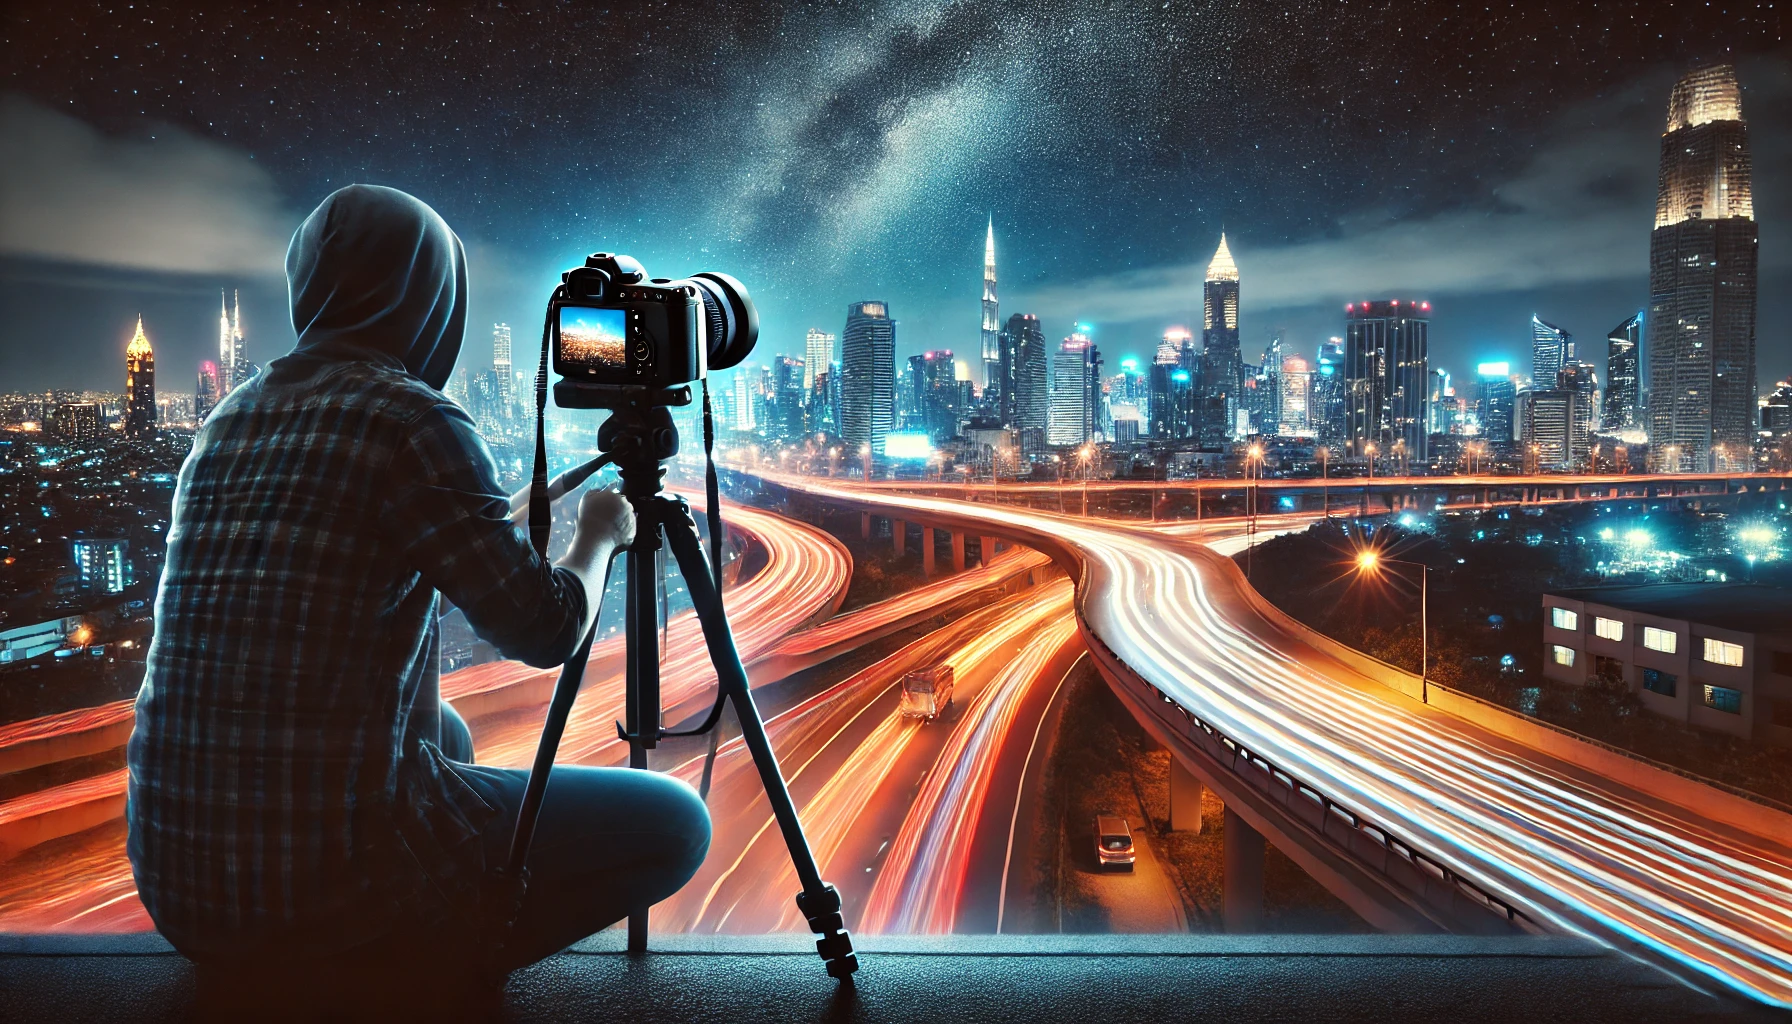
1. Use a Tripod for Stability
Since night photography often requires slower shutter speeds, even the slightest hand movement can result in blurry images. A sturdy tripod is essential to keeping the camera stable for sharp shots.
Tips for Using a Tripod at Night:
- Choose a heavy-duty tripod to prevent camera shake from wind or vibrations.
- Use a remote shutter release or set a 2-second timer to avoid movement when pressing the shutter button.
- Place the tripod on solid ground to maintain stability.
Bonus Tip:
If you don’t have a tripod, stabilize your camera on a wall, bench, or other steady surface.
2. Adjust Camera Settings for Low-Light Conditions
Shooting at night requires proper exposure settings to balance light and reduce noise.
Best Camera Settings for Night Photography:
- ISO: Start at ISO 400-800 and increase if needed. Higher ISO allows for brighter images but can introduce noise.
- Aperture: Use a wide aperture (f/2.8 – f/4) for better light intake. For cityscapes and star photography, a smaller aperture (f/8 – f/11) may be ideal for sharpness.
- Shutter Speed: Use a slow shutter speed (1-30 seconds) to capture more light and create long-exposure effects.
Bonus Tip:
Shoot in manual mode (M) for full control over exposure.
3. Focus Manually for Sharper Night Shots
Autofocus struggles in low light, so using manual focus ensures sharper results.
How to Manually Focus at Night:
- Switch to Live View mode and zoom in on a bright object (like a streetlight or star).
- Adjust focus until the object appears sharp.
- If your camera has focus peaking, enable it to highlight in-focus areas.
Bonus Tip:
For astrophotography, set the focus to infinity (∞) to keep stars sharp.
4. Use Long Exposure for Creative Night Effects
Long-exposure photography captures motion over time, creating stunning light trails, smooth water reflections, and glowing cityscapes.
How to Capture Long Exposures:
- Use a slow shutter speed (10-30 seconds) to allow more light into the sensor.
- Use a remote shutter release to avoid shaking the camera when pressing the shutter button.
- If shooting city lights, use f/8 – f/16 for sharp details and starburst effects.
Bonus Tip:
For car light trails, set a 15-30 second exposure and position yourself near a busy road with moving traffic.
5. Shoot in RAW for Better Editing
RAW files preserve more details and allow for better adjustments in post-processing. Shooting in JPEG compresses the image and limits editing flexibility.
Benefits of Shooting in RAW at Night:
- Recover shadows and highlights without losing detail.
- Reduce noise and grain with better control in editing software.
- Enhance colors without losing quality.
Bonus Tip:
Use Adobe Lightroom or Capture One to edit night photos for the best results.
6. Experiment with Light Painting
Light painting involves using a flashlight, LED, or other light source to create artistic effects in long-exposure photos.
How to Do Light Painting:
- Set the camera to manual mode with a 10+ second exposure.
- Use a flashlight to “paint” light onto the subject or draw patterns.
- Move the light source continuously to create smooth, glowing trails.
Bonus Tip:
Use colored gels on your flashlight to create unique, artistic lighting effects.
7. Capture Stunning Star and Milky Way Photos
Astrophotography requires clear skies, minimal light pollution, and long exposure settings.
Best Camera Settings for Star Photography:
- Shutter Speed: Start with 15-25 seconds (longer can cause star trails).
- Aperture: Use f/2.8 – f/4 to let in more light.
- ISO: Increase to ISO 1600-3200 to capture fainter stars.
- Focus: Set to manual focus at infinity (∞) for sharp stars.
Bonus Tip:
Use apps like Stellarium or PhotoPills to track the position of the Milky Way for the best compositions.
8. Take Advantage of Reflections and Silhouettes
Night photography provides unique opportunities to use reflections and silhouettes creatively.
How to Capture Reflections at Night:
- Look for wet streets, lakes, or glass surfaces to reflect city lights.
- Use a small aperture (f/8 – f/11) for sharper reflections.
How to Capture Silhouettes at Night:
- Place the subject against a bright background (streetlights, neon signs, or the moon).
- Expose for the bright area so that the subject appears as a dark outline.
Bonus Tip:
For cityscapes, use leading lines in reflections to guide the viewer’s eye into the image.
9. Use a Neutral Density (ND) Filter for Motion Effects
ND filters help control light in long exposures, even at night.
Best ND Filters for Night Photography:
- ND8 – ND64: Helps reduce brightness when capturing moving water or light trails.
- Variable ND Filters: Allow for adjustable darkness levels for more control.
Bonus Tip:
If shooting under bright artificial lights at night, an ND filter helps prevent overexposure in long exposures.
10. Post-Processing to Enhance Night Photography
Editing night photos can bring out hidden details and improve overall image quality.
Editing Tips for Night Photos:
- Adjust white balance to correct color casts from streetlights.
- Increase contrast and clarity for better definition.
- Reduce noise and grain without losing sharpness.
- Enhance light sources for a more dramatic effect.
Bonus Tip:
Use Lightroom’s Dehaze tool to reduce glare from city lights and enhance night sky details.
Conclusion: Capturing the Beauty of the Night
Night photography requires patience, creativity, and an understanding of how to work with limited light. By using a tripod, adjusting camera settings, experimenting with long exposures, and editing your shots effectively, you can capture stunning night scenes. Whether photographing cityscapes, stars, or light trails, practice and experimentation will help you refine your skills and produce breathtaking images.