Introduction: The Importance of Light in Photography
Lighting is one of the most critical aspects of photography. It determines the mood, clarity, and overall quality of an image. Whether you are using natural or artificial light, understanding how to manipulate and control it can take your photography to the next level. Many beginners struggle with lighting, resulting in overexposed, underexposed, or flat images. Mastering light allows you to create dynamic and visually compelling photos, whether you’re capturing portraits, landscapes, or still life. This guide will cover different types of light, how to use them effectively, and practical techniques to enhance your photography.
1. Understanding the Different Types of Light
Natural Light
Natural light comes from the sun and varies depending on the time of day, weather conditions, and environment. It is the most accessible and widely used source of light in photography.
Soft natural light occurs during the golden hour, which is the hour after sunrise and the hour before sunset. It creates a warm and diffused look, perfect for portraits and landscapes.
Harsh natural light is found at midday when the sun is high. It produces strong shadows and high contrast, which can be challenging to work with but can also create dramatic effects when used correctly.
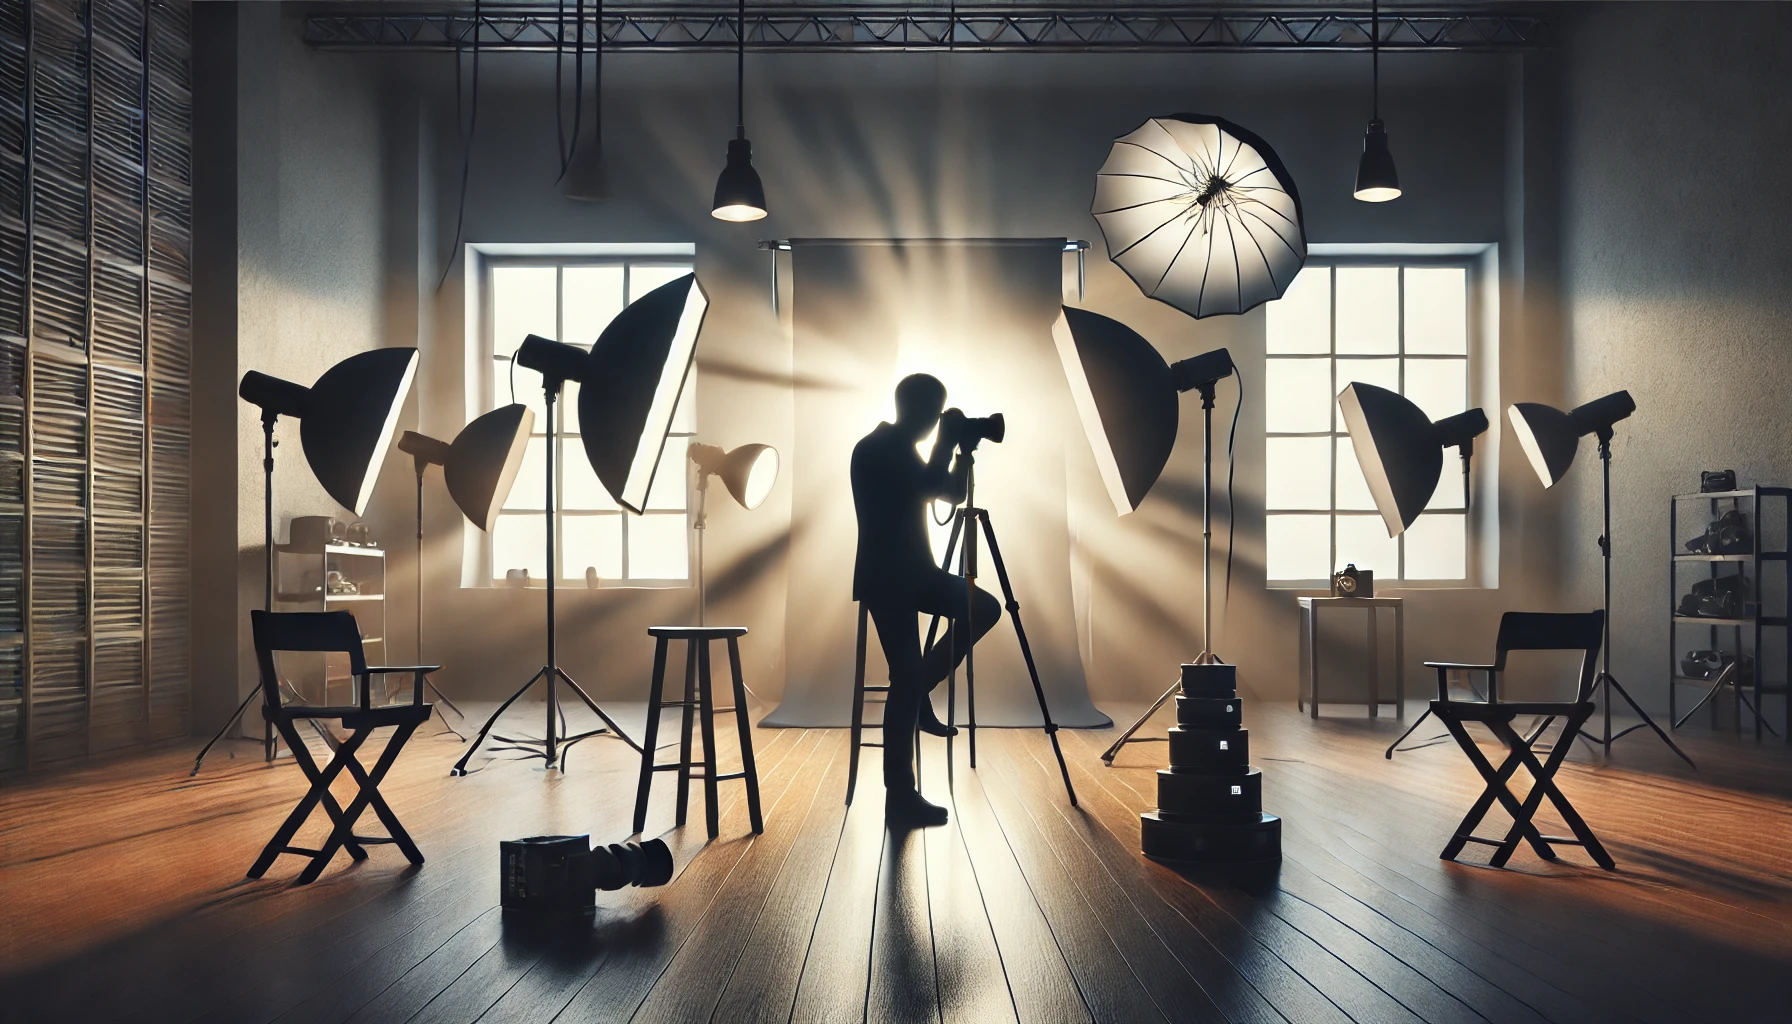
Artificial Light
Artificial light includes any non-natural light source, such as studio lights, LED panels, and household lamps. It is useful for indoor photography, product photography, and studio portraits.
Continuous lighting refers to light sources that stay on, like LED lights or softboxes. It allows photographers to see exactly how the light affects the subject before taking the shot.
Flash or strobe lighting produces a quick burst of light. It is commonly used in portrait and event photography to freeze motion and add brightness to a scene.
2. How Light Affects the Mood of an Image
Lighting plays a significant role in setting the mood of a photograph. Soft and diffused lighting creates a warm and inviting feeling, often used in portrait and lifestyle photography. High-contrast lighting with deep shadows adds drama and intensity, commonly seen in fashion and editorial photography. Low-key lighting, where most of the image is in shadow, creates a mysterious or cinematic effect. High-key lighting, where everything is bright and evenly lit, is popular for beauty and product photography. Understanding how light influences emotion and storytelling can help photographers create images that connect with the viewer.
3. The Direction of Light and Its Effects
Front Lighting
Light coming from directly in front of the subject reduces shadows and evenly illuminates the face. It is commonly used in portraits but can sometimes result in a flat and less dimensional image.
Side Lighting
Light hitting the subject from the side creates depth and texture. It is great for emphasizing facial features, wrinkles, or surface details in objects. Side lighting is often used in dramatic portraits and product photography.
Backlighting
When the light source is behind the subject, it creates a silhouette or halo effect. Backlighting works well for artistic and emotional compositions, especially during sunrise or sunset.
Top Lighting
Light coming from above can create harsh shadows under the eyes and chin, often seen in midday sun or ceiling lights. This type of lighting is common in dramatic and moody photography styles.
Bottom Lighting
Light coming from below creates an eerie and unnatural look. It is often used in horror or creative photography to produce an unsettling effect.
4. How to Use Natural Light to Your Advantage
Shooting During Golden Hour
The golden hour provides soft, warm, and diffused light that enhances skin tones and adds depth to landscapes. Position your subject so that the sunlight falls gently on their face, or experiment with backlighting for a glowing effect.
Working with Overcast Skies
Cloudy days act as a natural diffuser, creating soft and even light. This is ideal for portraits because it eliminates harsh shadows and prevents squinting. Overcast conditions also enhance colors in landscapes, making them appear more vibrant.
Using Shadows Creatively
Shadows add depth and interest to images. Look for patterns created by window blinds, tree leaves, or architecture to incorporate shadows into your compositions. Shadows can add drama and storytelling elements to your photos.
Reflecting and Bouncing Light
If the light is too harsh, use a reflector to bounce light onto the subject’s face. White walls, light-colored clothing, or even a piece of white paper can act as a natural reflector. This technique helps soften shadows and creates a more balanced exposure.
5. How to Use Artificial Light for More Control
Using Softboxes for Soft Light
Softboxes diffuse artificial light to create a soft, natural look. They are commonly used in portrait photography to reduce harsh shadows and provide even illumination.
Using LED Panels for Versatility
LED panels are portable and adjustable, making them useful for both photography and videography. They allow you to control brightness and color temperature, making them ideal for studio setups or low-light conditions.
Using Flash and Strobes Effectively
Flashes and strobes provide a burst of light that can freeze motion or fill in shadows. When using flash, consider bouncing the light off a ceiling or wall for a more natural effect instead of pointing it directly at the subject.
6. Balancing Light for Perfect Exposure
Proper exposure is achieved by balancing light using ISO, aperture, and shutter speed. If the scene is too bright, lower the ISO, increase the shutter speed, or use a smaller aperture. If the scene is too dark, raise the ISO, use a slower shutter speed, or open the aperture wider.
Using Light Meters for Accurate Exposure
A light meter helps measure the intensity of light and ensures that your exposure settings are correct. Many cameras have built-in meters that guide you toward the best settings for a properly exposed image.
Avoiding Overexposure and Underexposure
Overexposure results in lost detail in bright areas, while underexposure makes shadows too dark. Checking the histogram on your camera can help you ensure a balanced exposure with details preserved in both highlights and shadows.
7. Experimenting with Creative Lighting Techniques
Silhouettes for Dramatic Effects
Placing the subject in front of a bright light source, such as the sun or a window, can create striking silhouettes. Adjusting exposure to keep the subject dark while maintaining the background’s brightness enhances this effect.
Light Painting with Long Exposure
Using a slow shutter speed and moving a light source, such as a flashlight or glow stick, can create artistic light trails. This technique works well for night photography and creative compositions.
Using Colored Gels for Unique Effects
Colored gels placed over light sources add creative color effects to images. This technique is often used in fashion and artistic portrait photography to create mood and style.
8. Avoiding Common Lighting Mistakes
Mistake 1: Relying Too Much on Flash
Using flash in the wrong way can create harsh, unnatural lighting. Instead of using direct flash, try bouncing it off a surface or using a diffuser.
Mistake 2: Not Paying Attention to Shadows
Shadows can either enhance or ruin an image. Being mindful of how light falls on your subject helps avoid unflattering shadows, especially in portrait photography.
Mistake 3: Ignoring White Balance
Different light sources have different color temperatures, affecting how colors appear in your photos. Adjusting the white balance setting on your camera ensures that colors look natural and accurate.
Conclusion: Mastering Light for Stunning Photos
Understanding and controlling light is one of the most important skills in photography. Whether using natural sunlight or artificial lighting, knowing how to manipulate light can dramatically improve the quality of your images. Experiment with different lighting conditions, directions, and creative techniques to develop your unique style. Lighting is what makes photography an art, and by mastering it, you can take your photos from ordinary to extraordinary.