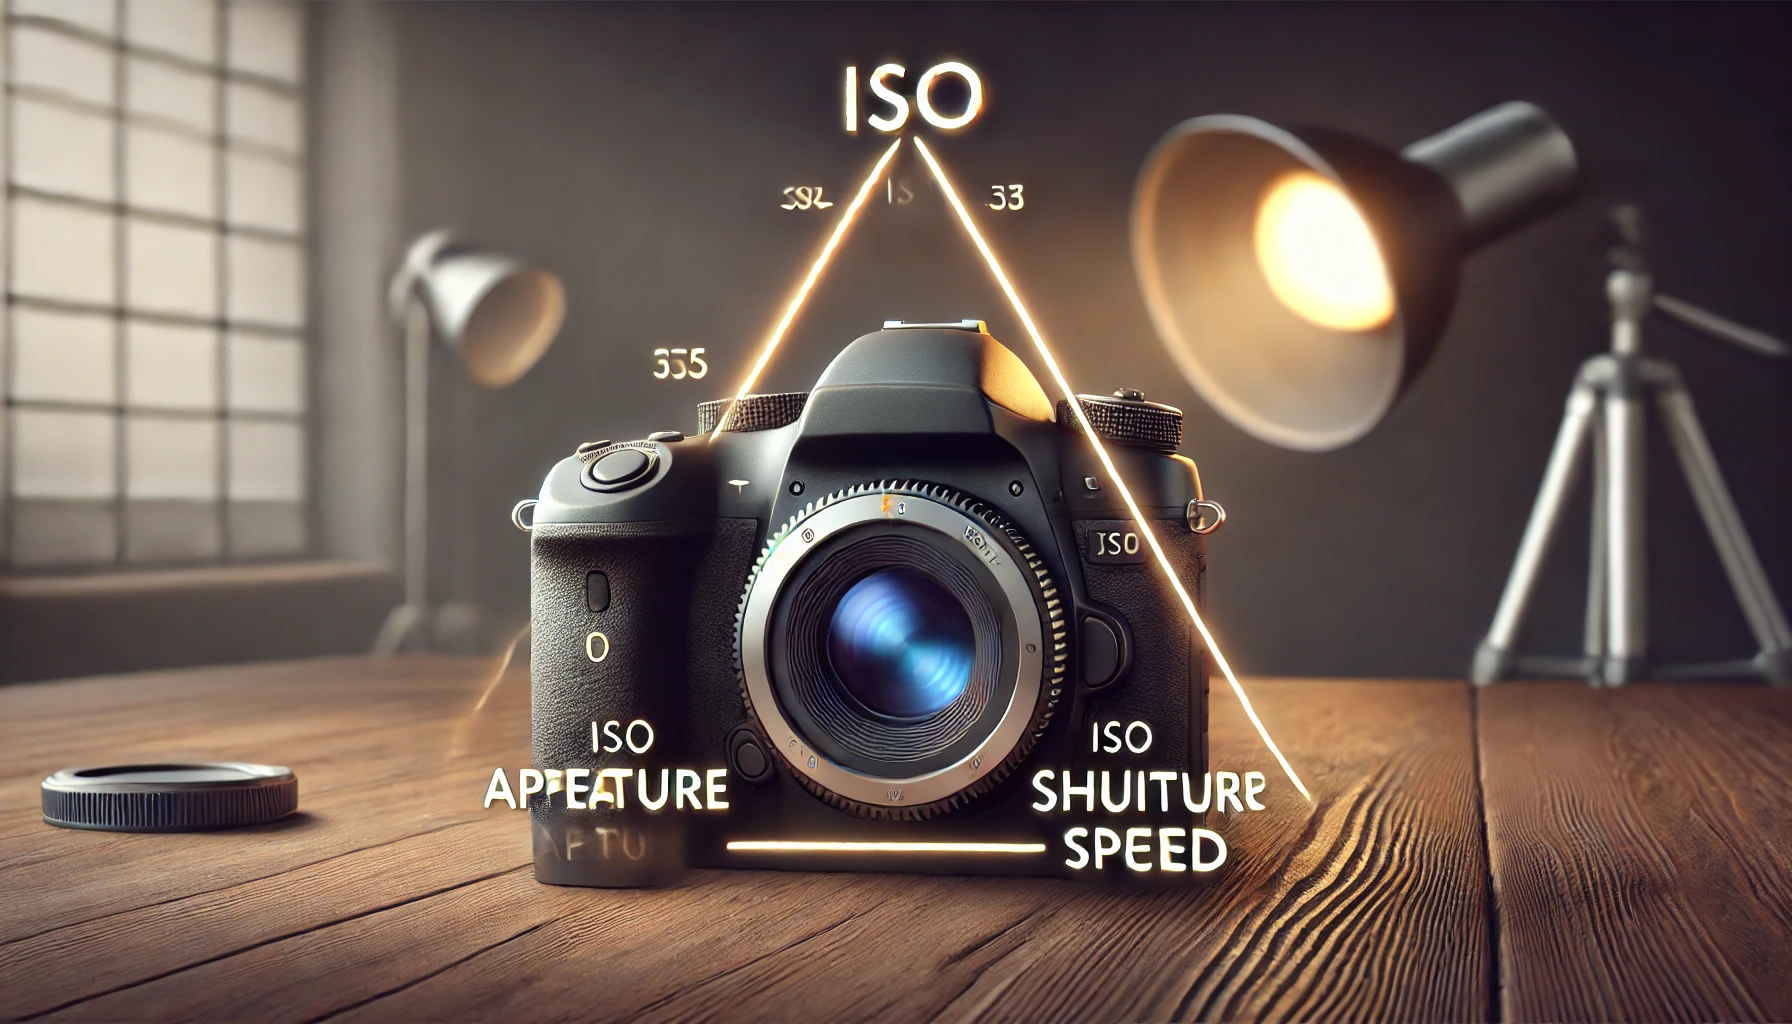
Introduction: The Exposure Triangle
Photography is all about capturing light, and three main camera settings control how light enters the camera: ISO, aperture, and shutter speed. These three elements form what is known as the exposure triangle, and understanding them is crucial for taking well-exposed photos.
Learning how they work together will allow you to take creative control over your images, whether you want a bright, sharp landscape or a dramatic portrait with a blurred background. Many beginners rely on automatic mode, but mastering these settings will give you much greater flexibility and improve the quality of your photos.
1. What Is ISO? Understanding Light Sensitivity
ISO refers to the camera sensor’s sensitivity to light. A low ISO (100 or 200) makes the sensor less sensitive to light, producing clearer images with less noise. A high ISO (800, 1600, or higher) increases sensitivity, making it easier to capture images in low-light conditions but at the cost of introducing grain or digital noise.
A common mistake beginners make is setting ISO too high when it is not necessary, which results in grainy photos. Ideally, you should keep ISO as low as possible while still achieving proper exposure.
When to Use Low ISO (100-200)
- Bright daylight conditions
- Outdoor photography with good lighting
- Studio photography with controlled lighting
When to Use High ISO (800-3200 or more)
- Indoor photography with limited light
- Night photography or low-light environments
- Capturing fast-moving subjects when increasing shutter speed is necessary
Most modern cameras handle high ISO well, but it is always better to balance ISO with shutter speed and aperture rather than relying solely on ISO to brighten an image.
2. What Is Aperture? Controlling Depth of Field
Aperture refers to the opening in the camera lens that controls how much light enters. It is measured in f-stops, such as f/1.8, f/4, f/8, f/16, and so on. A larger aperture (low f-number like f/1.8 or f/2.8) lets in more light and creates a shallow depth of field, which results in a blurred background. A smaller aperture (high f-number like f/11 or f/16) lets in less light but keeps more of the image in focus.
When to Use a Large Aperture (f/1.4 – f/4.0)
- Portrait photography to blur the background and focus on the subject
- Low-light situations where you need to let in more light
- Creative photography with a shallow depth of field
When to Use a Small Aperture (f/8 – f/16 or higher)
- Landscape photography where everything should be in focus
- Group shots where multiple people need to be sharp
- Situations with bright lighting where too much light could overexpose the image
Aperture also affects the aesthetic quality of the blur in the background, known as bokeh. Lenses with a wide aperture (like f/1.8 or f/2.0) create a smooth and creamy bokeh effect, which is often desirable in portrait photography.
3. What Is Shutter Speed? Controlling Motion and Exposure
Shutter speed determines how long the camera sensor is exposed to light. It is measured in fractions of a second, such as 1/1000s, 1/500s, 1/250s, 1/60s, or even full seconds like 1s or 10s. A fast shutter speed (1/1000s or faster) freezes motion, while a slow shutter speed (1/30s or slower) creates motion blur.
When to Use Fast Shutter Speeds (1/500s – 1/4000s or more)
- Capturing sports, wildlife, or any fast-moving subjects
- Freezing action in street photography
- Reducing motion blur in handheld photography
When to Use Slow Shutter Speeds (1/30s – several seconds or more)
- Night photography and low-light situations
- Long exposure shots of waterfalls, car light trails, or stars
- Creating artistic motion blur in landscapes or urban scenes
Using slow shutter speeds often requires a tripod to keep the camera steady. If you attempt to take a photo handheld with a shutter speed slower than 1/60s, you may introduce camera shake, making the image blurry.
4. How ISO, Aperture, and Shutter Speed Work Together
ISO, aperture, and shutter speed are interconnected, meaning that adjusting one setting affects the others. Understanding how to balance these settings is key to achieving the correct exposure for your images.
Example 1: Bright Daylight Photography
If you are shooting outside in bright sunlight, you typically want:
- ISO 100 or 200 to avoid unnecessary noise
- A small aperture (f/8 – f/16) to capture sharp details
- A fast shutter speed (1/500s or faster) to prevent overexposure
Example 2: Portrait Photography with a Blurred Background
For a portrait with a nice background blur, you might use:
- A large aperture (f/1.8 – f/2.8) to separate the subject from the background
- ISO 100 or 200 for the best image quality
- A shutter speed of at least 1/200s to keep the subject sharp
Example 3: Night Photography
For shooting at night or in low light, the settings might be:
- A wider aperture (f/2.8 – f/4) to let in more light
- A higher ISO (800 – 3200, depending on the camera’s noise performance)
- A slow shutter speed (1s – 30s) to allow enough light in, using a tripod to avoid blur
Balancing these settings takes practice, but once you understand the relationship between ISO, aperture, and shutter speed, you gain full creative control over your images.
5. Common Mistakes and How to Avoid Them
Mistake 1: Using High ISO When It’s Not Needed
Many beginners increase ISO too much instead of adjusting shutter speed or aperture first. This results in noisy, grainy images. Always start with the lowest ISO and adjust only if necessary.
Mistake 2: Using the Wrong Aperture for the Scene
Aperture affects both light and depth of field. Using f/1.8 for a group photo may result in some people being out of focus, while using f/16 for a portrait might make the background too distracting. Choose the right aperture for your subject.
Mistake 3: Setting a Shutter Speed Too Slow for Handheld Shots
If your shutter speed is too slow, even slight hand movements can cause blurriness. A general rule is to keep the shutter speed at least as fast as the focal length of the lens (e.g., 1/50s for a 50mm lens).
Mistake 4: Forgetting to Adjust Settings When Changing Environments
Shooting in bright sunlight and then moving indoors without adjusting your settings can result in underexposed or overexposed images. Always check your exposure settings when changing lighting conditions.
Conclusion: Mastering the Exposure Triangle
Understanding ISO, aperture, and shutter speed is essential for taking great photos. These three elements work together to control light, motion, and depth of field, allowing photographers to create different effects and styles. While automatic mode can be convenient, learning to adjust these settings manually gives you complete control over your images. The best way to improve is through practice—experiment with different settings, take photos in various lighting conditions, and analyze your results. Over time, adjusting these settings will become second nature, helping you capture stunning and well-exposed photographs.