Many beginner photographers rely on automatic modes when taking pictures, but learning how to use manual mode unlocks the full potential of a camera. Unlike automatic settings, which let the camera make exposure decisions for you, manual mode gives complete control over the three main elements of exposure: shutter speed, aperture, and ISO. Understanding how these settings work together allows for greater creative freedom, ensuring that every shot is intentional rather than dictated by the camera’s built-in algorithms.
Shooting in manual mode might seem intimidating at first, but once you understand how each setting influences exposure, it becomes a powerful tool for creating well-balanced and artistic images. Whether photographing landscapes, portraits, or action shots, mastering manual mode helps adapt to different lighting conditions and achieve specific visual effects.
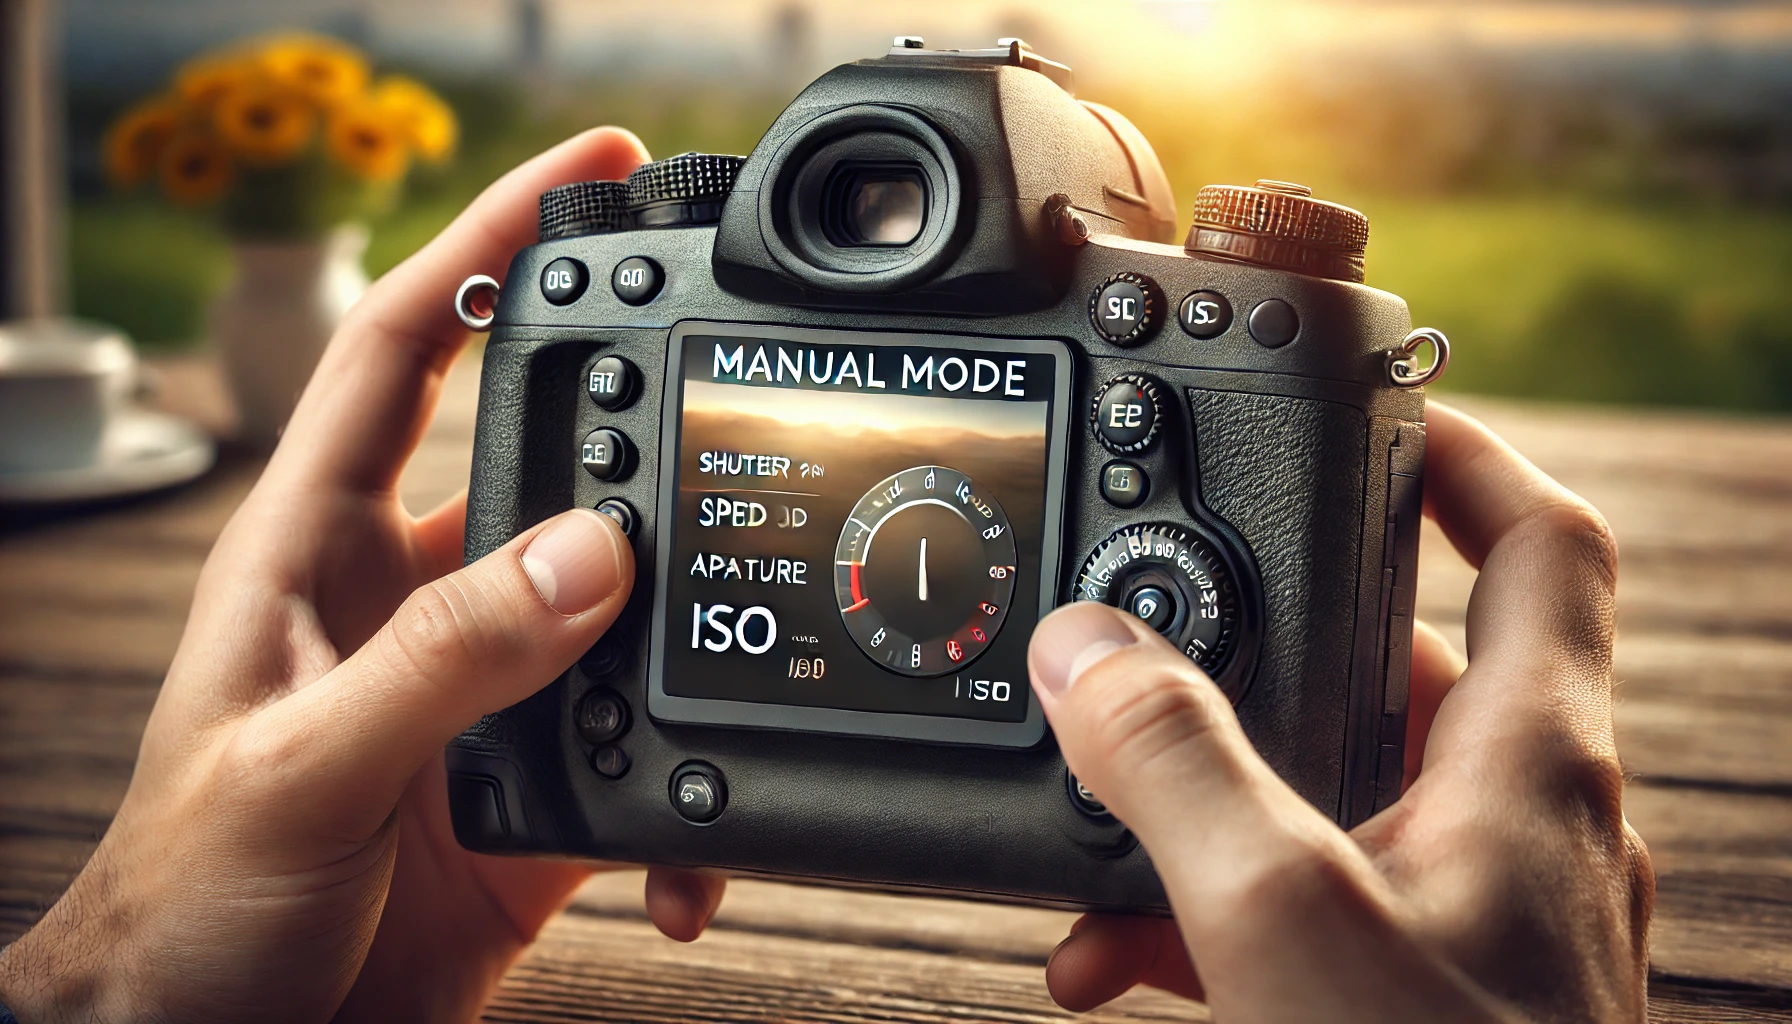
Understanding the Exposure Triangle
The exposure triangle consists of three fundamental settings: shutter speed, aperture, and ISO. Each of these plays a crucial role in determining how much light reaches the camera sensor, affecting the brightness, depth of field, and motion blur in an image.
Shutter speed controls how long the camera’s shutter remains open. A fast shutter speed, such as 1/1000s, freezes motion, making it ideal for sports and wildlife photography. A slow shutter speed, like 1/30s or lower, allows more light into the sensor and creates motion blur, which is useful for capturing light trails or flowing water.
Aperture refers to the size of the lens opening that lets light into the camera. Measured in f-stops, a wide aperture (low f-number, such as f/1.8) results in a shallow depth of field, blurring the background while keeping the subject in sharp focus. A narrow aperture (high f-number, such as f/11 or f/16) increases the depth of field, keeping more of the scene in focus, which is great for landscapes.
ISO measures the camera sensor’s sensitivity to light. A lower ISO (100-200) produces clean images with minimal noise, making it ideal for bright conditions. A higher ISO (800-3200 or more) is useful in low-light situations but can introduce grain or digital noise.
Balancing these three settings is key to achieving a properly exposed image. Adjusting one setting affects the others, requiring careful adjustments to maintain the right exposure level.
How to Set Up and Use Manual Mode
Switching to manual mode is as simple as turning the mode dial on the camera to “M.” The next step is adjusting shutter speed, aperture, and ISO based on the shooting conditions.
A light meter, which is visible through the camera’s viewfinder or screen, helps determine the correct exposure. It displays a scale ranging from negative to positive values, where zero represents proper exposure, negative values indicate underexposure, and positive values suggest overexposure. Adjusting shutter speed, aperture, or ISO until the meter reads close to zero ensures balanced lighting.
Selecting the right settings depends on the scene being captured. For a portrait with a blurred background, setting the aperture to f/1.8, a shutter speed of 1/200s, and an ISO of 100 would create a beautiful bokeh effect. For an action shot, increasing the shutter speed to 1/1000s while adjusting ISO and aperture accordingly would freeze motion sharply.
Manual focus can be used in challenging conditions, such as low-light environments or macro photography, where autofocus might struggle. Using the camera’s focus magnification feature ensures precision in fine details.
Common Scenarios and Recommended Manual Mode Settings
Each type of photography benefits from different manual settings, and understanding how to adjust them based on the scene leads to better results.
For portrait photography, using a wide aperture (f/1.8 to f/4) creates a shallow depth of field that isolates the subject from the background. A shutter speed of at least 1/200s ensures sharp focus, while ISO should remain as low as possible to maintain image quality.
For landscape photography, a narrower aperture (f/8 to f/16) provides greater depth of field, keeping both foreground and background in focus. A slower shutter speed (1/30s to several seconds) allows for a well-exposed shot, but a tripod is recommended to prevent camera shake. ISO should stay at 100 or 200 for maximum image clarity.
For sports and action photography, a fast shutter speed (1/1000s or faster) freezes motion effectively. A wider aperture (f/2.8 to f/5.6) helps let in enough light, while ISO may need to be increased depending on the lighting conditions.
For night photography, a long exposure (several seconds) captures enough light for a well-lit shot. A tripod is essential, as even the slightest movement can cause blur. Aperture settings between f/2.8 and f/5.6 allow more light to enter, while ISO should be adjusted based on available light, typically between 800 and 3200.
For macro photography, using a small aperture (f/8 to f/16) ensures sharp focus on close-up subjects. A shutter speed of at least 1/200s prevents motion blur, and ISO should be adjusted based on available light. A tripod and external lighting help enhance stability and clarity.
Advantages of Shooting in Manual Mode
Shooting in manual mode offers greater creative control over exposure and composition. Unlike automatic modes, which can misinterpret lighting conditions, manual settings allow precise adjustments to achieve the desired effect. This is especially useful in high-contrast environments where automatic exposure might darken or brighten parts of the image incorrectly.
Manual mode also enables photographers to develop a deeper understanding of how cameras work. Learning how to balance shutter speed, aperture, and ISO improves technical skills and allows for more consistent results in different shooting conditions. Over time, adjusting settings becomes second nature, making it easier to capture high-quality images quickly.
Another advantage is the ability to create unique artistic effects. Long exposure shots, intentional motion blur, and selective focus techniques are easier to execute in manual mode, allowing photographers to experiment with different styles and approaches.
Challenges of Manual Mode and How to Overcome Them
One of the biggest challenges of using manual mode is the learning curve. Adjusting settings manually can feel overwhelming at first, especially in fast-paced environments where quick decisions are required. Practicing in controlled conditions, such as shooting stationary objects or landscapes, helps build confidence before moving on to more dynamic subjects.
Incorrect exposure is another common issue. If an image is too dark, increasing ISO or widening the aperture allows more light to reach the sensor. If an image is too bright, using a faster shutter speed or narrowing the aperture helps reduce excess light. Checking the camera’s histogram provides a more accurate representation of exposure levels, helping to avoid overexposed highlights or underexposed shadows.
Focusing manually can be difficult, especially in low-light conditions where autofocus struggles. Using the camera’s focus peaking feature, if available, highlights the sharpest areas of the image, making manual focusing more precise.
Shooting handheld in manual mode can introduce motion blur if the shutter speed is too slow. Using a tripod or increasing shutter speed while adjusting ISO accordingly helps maintain sharpness.
When to Use Manual Mode vs. Other Camera Modes
Manual mode is ideal for situations where full creative control is needed, but other modes can be useful in specific scenarios. Aperture priority mode (A or Av) allows photographers to set the aperture while the camera adjusts shutter speed, making it a good choice for portraits and landscapes where depth of field is a priority. Shutter priority mode (S or Tv) lets the photographer control shutter speed while the camera sets aperture, making it useful for capturing motion in sports or wildlife photography.
For casual shooting, program mode (P) offers some control over exposure settings while letting the camera handle other adjustments. This is useful when conditions change rapidly, and quick adjustments are needed.
Conclusion: Mastering Manual Mode for Better Photography
Using manual mode allows photographers to take complete control over their images, resulting in more intentional and professional-quality shots. Understanding the exposure triangle, adjusting settings based on lighting conditions, and practicing different scenarios help build confidence in using manual controls. While the learning curve may seem steep at first, consistent practice leads to greater creative freedom and technical expertise. By mastering manual mode, photographers can achieve the perfect balance of light, motion, and depth, capturing stunning images that reflect their artistic vision.